Pages

Showing posts with label black. Show all posts

Wednesday, October 31, 2012

Happy Halloween!

Good Morning Everyone!! Happy Halloween! It's been a lot busy here lately. (when isn't it, right?) I hope all of you that were in the path of Sandy find yourselves safe and sound today!!

Today's nail art is one I did last spring, but haven't posted just because the color combination so obviously screamed Halloween! So, I saved it just for today.

Without further ado, I bring you pictures!


I used Mattetastrophe to give the orange a matte finish and left the black glossy and  trimmed the diagonal with a gold glitter. 

I hope your Halloween is filled with more treats than tricks!! What are you dressing up as?? I still have no clue! :O 

Sunday, August 12, 2012

Post Wedding Check-in

Well, I have made it through all the insanity and I think I managed to not loose my mind. lol We are now moved into our new place (though not completely) and we had a lovely wedding, and we're enjoying our "family honeymoon" this weekend. I'll be back to posting regularly, but initially, I will no longer be making daily posts. I will, however be posting at least once a week while I try to get our daily lives back to normal and get the lil one set up for the new school year.

Without further ado - I bring you a wedding photo! For the moment, it's the only one I have access to but I promise to post at least one more of the entire dress.


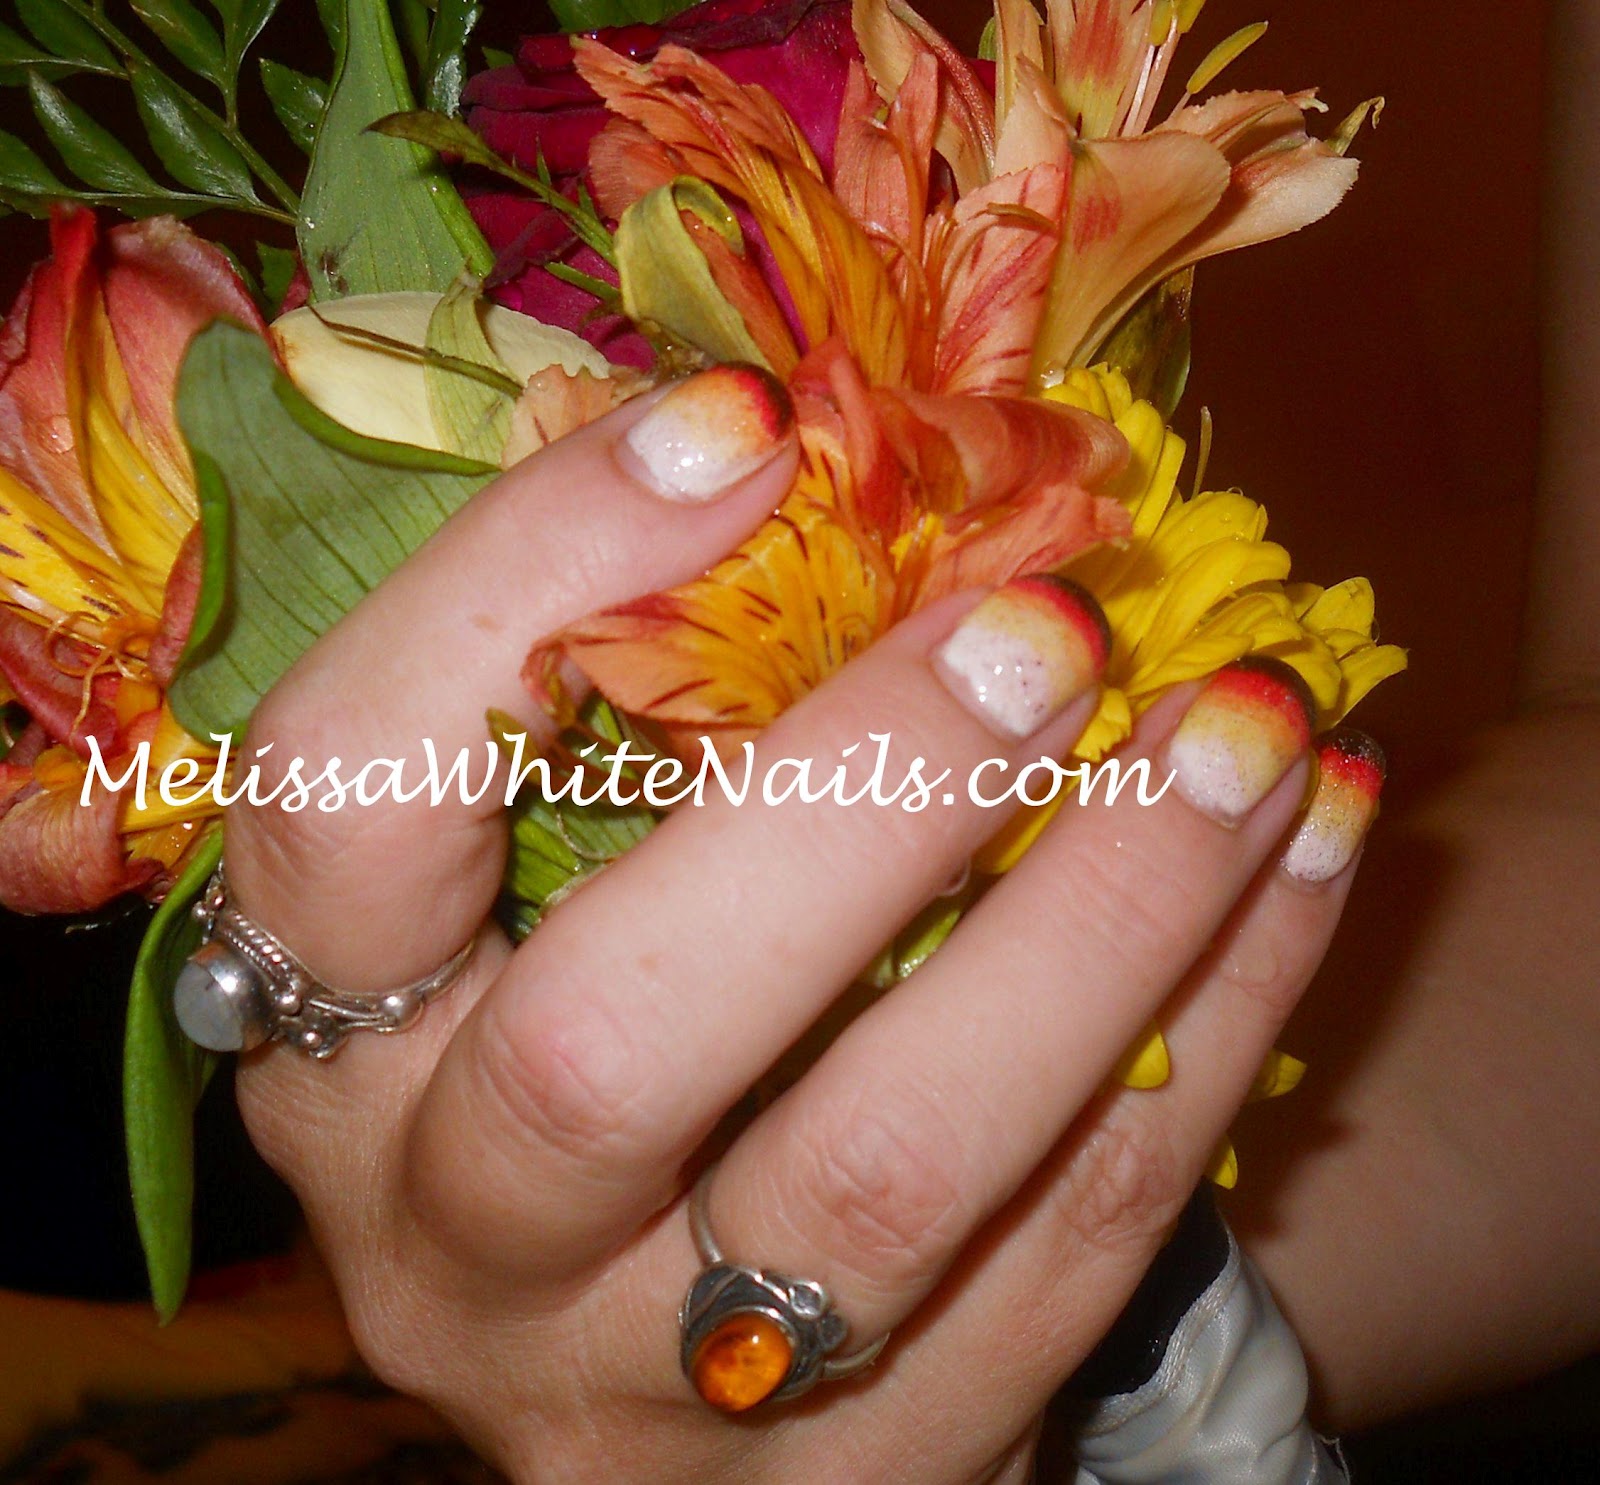
Of course, since this is a nail blog - this entry would not be complete without a photo of my manicure for the day!! I did my nails with Gelish and I took this picture almost a week later so there is some growth going on there. I still love the look!


The flowers are from my daughter's bouquet. She was one of my bridesmaids and I had to get the nails with the flowers becauses I did like my wedding flowers. I wonder how much of that is because I did my own flowers? haha! 

That's all for this week - I'll see you all next Sunday! Have a nailicious week!

Thursday, May 10, 2012

Half and Half

Good Morning and Happy Friday Eve! I can't believe it's Thursday already? Where did the week go?? I swear, the older I get the faster the day go by. Today's Nail Art of the Day is a little different. I have a KandNail stamping plate I got from BornPrettyStore and one of the downfalls of these plates is that the designs are great but often too small to completely cover an entire nail.......unless ur like 6.  I really wanted to do this design though...but as Tim Gunn likes to say "Make it work!"


This really made me happy because it's just sooo bold! Perfect for a night out wearing your favorite Little Black Dress! I'm definitely going to have to try this with some of the other designs but let's take one more look at it shall we?


Here, I tried to get a half-way side view of this look. I did have to 'stack' the stamped print on my nail but apparently I can do that top/bottom wise but not so much left/ride sides. Thus the half of the nail being painted black. I'm super happy with this outcome and I hope you like it too! 

That's all I have for you today, Thanks for reading and have a groovy day!!


Tuesday, April 17, 2012

Busy Bees

Good Morning and a Groovy Tuesday to you! I saw this awesome nail art yesterday on Nails Magazine's Nail Art Gallery and I knew right away I had to do it!!

So, in honor of the spring flowers, I bring you bees! You just can't have flowers without bees.


I am just in love with this nail art. It was much easier to do than I thought it would be. So either I'm getting much better at free-hand nail art, or it's easier than it looks. Maybe it's a combination of both! 


One more picture just because I think it's the cutest thing ever.


I used Sally Hansen's Xtreme Wear, "Mellow Yellow" for this. It's honestly the best yellow for all the nail art I've done over the years. I did the rest using Acrylic Paint which has quickly become a staple for me. 

Friday, April 13, 2012

Fish Egg Friday!!

I'm baaaaack!! I decided to go ahead and double post today and bring you "Fish Egg Friday"! This was a last minute blog community event and I'm very glad I decided to do this. I've never done a caviar manicure and I'm certainly glad I gave it a shot!! Look for more of these style nail art manicures in the future.

This style nail art first appeared on the runway last year at Mercedes Benz New York Fashion Week and you can read about  Dashing Diva Pro's avant guarde look here.  This is the specific look I attempted to replicate today! I apparently need to be clear about that since there's a DIY kit available by Ciate, a brand from the UK and it very much differs from the original look. Now on to the pictures!!


These were all taken in bright sunlight to highlight the glitter and to demonstrate what a difference it makes to the overall look. Personally, I feel that without the glitter, the look risks looking like nothing more than a smudged up black nail from any distance. Let's be honest here, our nails don't get noticed up close unless we're in the habit of poking people in the eye.


Here in the second shot, you can see how the glitter as become part of the texture.  I used Orly's "Shine On Like a Diamond" as a top coat here both to get the glitter effect  and to secure the beads to my nail firmly. I have previously discovered from working with micro-beads that using a fast dry top coat can sometimes effect the color of the beads by almost leeching the color from the beads and making it bleed into your design. If you want to skip my rant, just jump to the end to get a list of all the other gals participating today!

~Rant Time~

I am going to take a moment to talk about why I decided to participate in "Fish Egg Friday". I am a professional nail technician, I am licensed by my state and this "Ciate caviar manicure" product is not marketed to me as a professional. I also don't do product reviews except in the most incidental manner (I used this, I don't use that, etc.)  This product is not even available in my area except online. The recent unprofessional conduct of their PR dept toward the beauty bloggers as a whole embarrasses me. Outside the fact that I am a former DIY-er who made the transition to professional, One of the things I enjoy about my profession is the industry as a whole and the professional code of conduct that doesn't include that sort of behavior. We don't put each other down publicly or behave negatively towards each other. This industry attracts certain types of people and those that flourish are caring, supportive, positive bundles of energy.

This is a unique industry. It's one of the few industries where duplication and imitation is what helps us grow, evolve and push us in new directions while still offering quality, iconic products/services. Offering consistent quality and accessibility is what gives your "branded technique" staying power not legal action against those who chose to not promote your product to achieve a look you didn't create. One has only to look into the history of the "French Manicure" to see an example of how it really works. Exclusivity and trademarking is not what has made this field the biggest growth industry at a time of world-wide recession. It has been it's accessibility of quality to the average person at every level which has made us all flourish.

I expect the folks at Ciate to follow in the footsteps of Max Factor and Orly and their "french manicure" and re-orient their PR staff appropriately. This type of behavior may work in other industries, but it doesn't fly in this one. Here, the rule of the day is either adjust the quality or adjust it's accessibility (price).


Thanks for hanging around to read my rant! Here's a list of the other bloggers participating in today's "Fish Egg Friday" be sure to check out their GREAT manicures cuz this is a amazing line-up!! The list keeps getting longer so be sure to check back and see all these new great caviar manis! You can also keep up with everyone else on twitter who's jumped in using #fisheggfriday!




Tuesday, April 10, 2012

Paisley Spring Stamping!

So, a few weeks ago I picked up another bottle of Sally Hansen's Xtreme Wear "Emerald City" and the package was a two for one at the dollar store. I'll be honest and say that I took every package they had because "Emerald City" is a discontinued color and I have yet to find another one to replace that shade of green. It truly is my "go-to green" for nail art!

One of those packages came with a lighter green and I loved how that looked with my Easter Day Mani's. Pastel green AND sparkley? I'm totally in. I'm still very much into funky stamping patterns and here's today's combination!!


The green looks way more frosty in these pictures, but a "sparkling frost" would be a more accurate description. I really like this - it suits my funky mood this week!! Spring is in the air and I'm feeling funky!

Thanks for reading and I hope you have a great day or night wherever you are!

Saturday, March 31, 2012

Fly Butterflies Fly

Happy Saturday to you! This morning's nail art is inspired by a few different things. The first one is the gazillion of butterflies we have everywhere happily flitting around a bunch of flowering weeds we have here and there. It adds to the ambiance, love to sit in my yard and just read a book in the sunshine! Add that to the many butterfly tutorial on YouTube and pinterest - there's no way I can NOT do at least one.


I think I went a little too over the top with the dots, but I can always do less dots going forward. 


That's going to be it for today - I hope your weekend is off to a great start!!

Wednesday, March 28, 2012

Black, White and Dotted All Over

Happy Hump Day! Today I bring you another nail art from my pinterest "to-do" list".  I seriously considered doing this one using microbeads, but decided against it until I was sure I could do it using a plain old dotting tool.


There is something just inherently cool about the design and the fact that it's all done in dots. Simple but funky at the same time. What I find interesting is that you could use this design as an accent nail and do the rest of your nails with just the bottom dots........or do all 10 of your nails using the whole design like the pinterest photo.

I think if I do this design using micro-beads, I'll have to modify this design a bit, make the top "half" into a whole and center that on the nail more. Maybe use rhinestones for the large dots across the free edge? Definitely add that to my "to-do" list. 

Funny how I keep doing designs from my list, but the list keep getting longer!!

Sunday, March 25, 2012

Dissatisfaction

Good Morning! I know my blog post is late but I was just too tired last night to write it and severely lacking in the inspiration. I had done my latest Gelish in this lovely green. It's an amazing sparkly green and I love the color. You might have noticed  that my last few posts have not featured my hands, a large part of that is because many of the nail arts I wanted to do just don't go with this color and one of the designs I apparently am unable to do on my own nails.

All that being said, I still tried to do a nail art with this color and I'm just not satisfied with it. All is not lost though!! I finally got my order from born pretty store.


As you can see from the picture, that's a whole lot of stamping plates but it also is dried flowers (clear round containers) and resin rhinestones (in the little baggie). With much encouragement from my significant other, I ran to my studio to check them out.

Again, the color became an issue but I think I did ok moving past it. 


Going forward, I'll have to keep in mind that this color really is only for wearing by itself.  In the meantime, I'm taking it off a week early and I think I'll go with a clear for now and start wearing some of my bolder nail arts on both hands! 

Thursday, March 22, 2012

More Experimental Nail Art

Happy Friday Eve to you!!  Today I have some more experimental nail art to show you.  This time I'll be showing you two Gelish nail arts. I usually do just the Gelish as my base color, but these are completely done using Gelish polishes.


You can see the larger pieces of holo glitter in this photo and some of the pink holo shimmer as well. It's super sparkly that's for sure!!


This second one is a super glittery sunset with a beaded palm tree done in black. This is the same glitter I used in the one above but it doesn't quite catch the "holo" like the one above did. I was dying to do something beaded with the gel and here it the first one! 

That's it for today. I'll be back tomorrow to show you some of my first attempts at using acrylic paints with nail polish to make flowers. I twitted some of them yesterday if you care to scroll back through my tweets to get a sneak peek!

Sunday, March 18, 2012

Roll of the Dice

Good Morning Sunshine! Today, I have another one of those nail arts I found on pinterest that was definitely simple but completely brilliant! Let's get right to the pictures, shall we?!

The order of the dice are as random as my brain can make them and they hold no special significance to me.


I would call these my gambling nails!! We have more than a few different casinos near us and we've been known to frequent them. I'm a big bingo hound, harking back to when I was little and my Mother, all my Aunts and my Grandmother used to go to bingo at least once a week at various different churches around Boston. It also reminds me of sitting around the table after Christmas dinner and playing "penny craps". Yah, I know, my family is totally weird and I wouldn't trade them for anything.  But we always had cards and dice in the house and everyone knew when to quit while we were ahead!

I hope you enjoyed today's Nail Arts and a peek at my crazy extended family! 

Sunday, March 11, 2012

Ocean Sunsets

Thank you for your patience! I am finally back at it and did a few quick ones this morning! I'm still wearing my Gelish Sunset Gradient and I decided to use that at my starting point. I'll be changing that soon to prepare for St. Patrick's Day this week!

I don't really have many pictures of this one to post because I just didn't like how they came out. Lots of shadows! It really has been awhile since I took pictures of my Nail Art in the sunshine!


That's all for today, I'll be back tomorrow with a few more pictures since by that time I'd gotten the hang of direct sunlight pictures!! Enjoy the last bit of the weekend!!

Thursday, March 8, 2012

Pink Argyle!

Good Morning and a wonderful Friday Eve to you!! So I had previously joined pinterest, and one of the boards I created was of nail art I like and want to try out! Today's Nail Art is one that just love for it's simplicity and girly factor. I think I could have executed this one better, but I'm definitely not unhappy with the overall result and my execution will get better through repetition but you be the judge. I bring you Pink Argyle!


You will probably see this one again when I get it worked out so it looks much crisper and cleaner. The pink is OPI's "Pedal Faster Suzi" from the Holland Collection Mini Set. I'm not even going to mention how many coats it took to hide my sunset mani undernearth. I just love the overall look of this one. It's definitely the glitter accent and the jewels that give it the girly vibe that I fell in love with.

I may or may not have a post for you Friday, I'm starting a "fix-up" project on my work space and the initial portion of that requires that I move everything out to do what I need to do. So I might get that part completed today and everything back in and be able to do some more nail art, but then again, I may not get to the Nail Art. I will return as soon as humanly possible tho!!

Wednesday, March 7, 2012

Fairy in the Flowers

Happy Hump Day everyone!  The week is half over. Today's post is going to be really quick because this morning I'm covering for one of the other mom's at my youngest daughter's preschool. Today's mani is not especially difficult or very challenging, however, it's the one I'm currently wearing and loving.


That's my Gelish sunset gradient as a base "color" for some stamping I did. I was looking to do the fairy since I have her on two different plates and it's just cute.The fairy really only fits on my middle finger and I felt that I just needed something else. So I stamped the flowers on the rest of my fingers, deliberately changing the alignment a little bit on each finger just to keep it from being repetitive and give the impression that she's in a field of flowers.

That's going to be it for today! See you all tomorrow!!

Sunday, March 4, 2012

Gradients on my mind

A Groovy Good Morning to everyone!! I know I talked about posting my "Hunger Games Mani" today but I did the Mani and after looking at the pictures, I'm just unhappy with how it came out. I'll be taking another shot at it really soon, so don't think I forgot about it. I mean, how can I? I have all those amazing polishes just calling my name.

I do however have a design for you today that includes one of the Hunger Games polishes, Stone Cold. I've been almost obsessed with doing gradients lately and I'm just letting that impulse run rampant since it's something I do well. Now, on to the pictures!


I originally stamped the flower on, but even with such a dark color, it came out very faint looking and the bottom 2/3 of the flower was barely visible. So, I just took a fine tipped brush and the actual polish color and darkened it. It doesn't show well in the photos, but I made a center dot from a gold holo polish by Color Club's Art Club. I really liked this color combo and I thought about this specific gradient when I was in Sally's buying the polish. I realized the silver foil I was looking to get for stamping would look awesome with it - that put it at the top of my "to-do-NOW" list.  It vaguely reminds me of the book cover for Hunger Games, at least as far as the color scheme goes. One more pictures because I really love the colors.


I love that colors are bold but not LOUD. I personally love to wear loud colors on my fingers but not everyone does, so I try to come up with designs that fall into that. What do you think? Is it bold but quietly so?