Wooo!! It's cold here today!! I know some of ya'll aren't nearly this cold but to me it's FREEZING!! I live down here in the Everglades because of the subtropical climate....now where is my subtropical climate??
I haven't done much nail art over the last few months...and honestly, for awhile there I was walking around with BARE NAILS!! oh the horror!! Seriously. Right now I have zero color on my nail but I do at least have a clear coat of Gelish to protect my nails. They got so raggedy I couldn't take it anymore. I just cut them down to nubs and put the clear coat on so I could grow them out again.
I thought I would go ahead and post a few of the pictures of Nail Art I've done when I did it.
Showing posts with label glitter. Show all posts
Showing posts with label glitter. Show all posts
Wednesday, January 22, 2014

Monday, February 11, 2013
Return Of The Nail Art!
I've been pretty busy over the month of January! I've been keeping on track with my New Year's resolutions, filling some custom orders for nails, and helping my husband with his palm trees. In fact, Today I worked on the very plants used in the background photo for this blog and my website!
Sunday, August 12, 2012
Post Wedding Check-in
Well, I have made it through all the insanity and I think I managed to not loose my mind. lol We are now moved into our new place (though not completely) and we had a lovely wedding, and we're enjoying our "family honeymoon" this weekend. I'll be back to posting regularly, but initially, I will no longer be making daily posts. I will, however be posting at least once a week while I try to get our daily lives back to normal and get the lil one set up for the new school year.
Without further ado - I bring you a wedding photo! For the moment, it's the only one I have access to but I promise to post at least one more of the entire dress.


Without further ado - I bring you a wedding photo! For the moment, it's the only one I have access to but I promise to post at least one more of the entire dress.

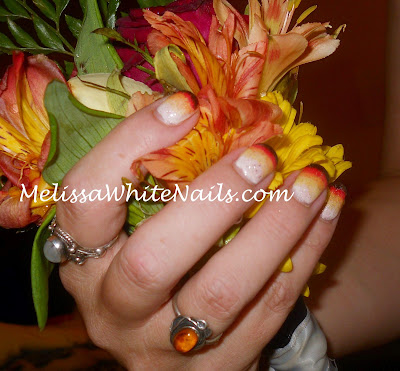
Of course, since this is a nail blog - this entry would not be complete without a photo of my manicure for the day!! I did my nails with Gelish and I took this picture almost a week later so there is some growth going on there. I still love the look!

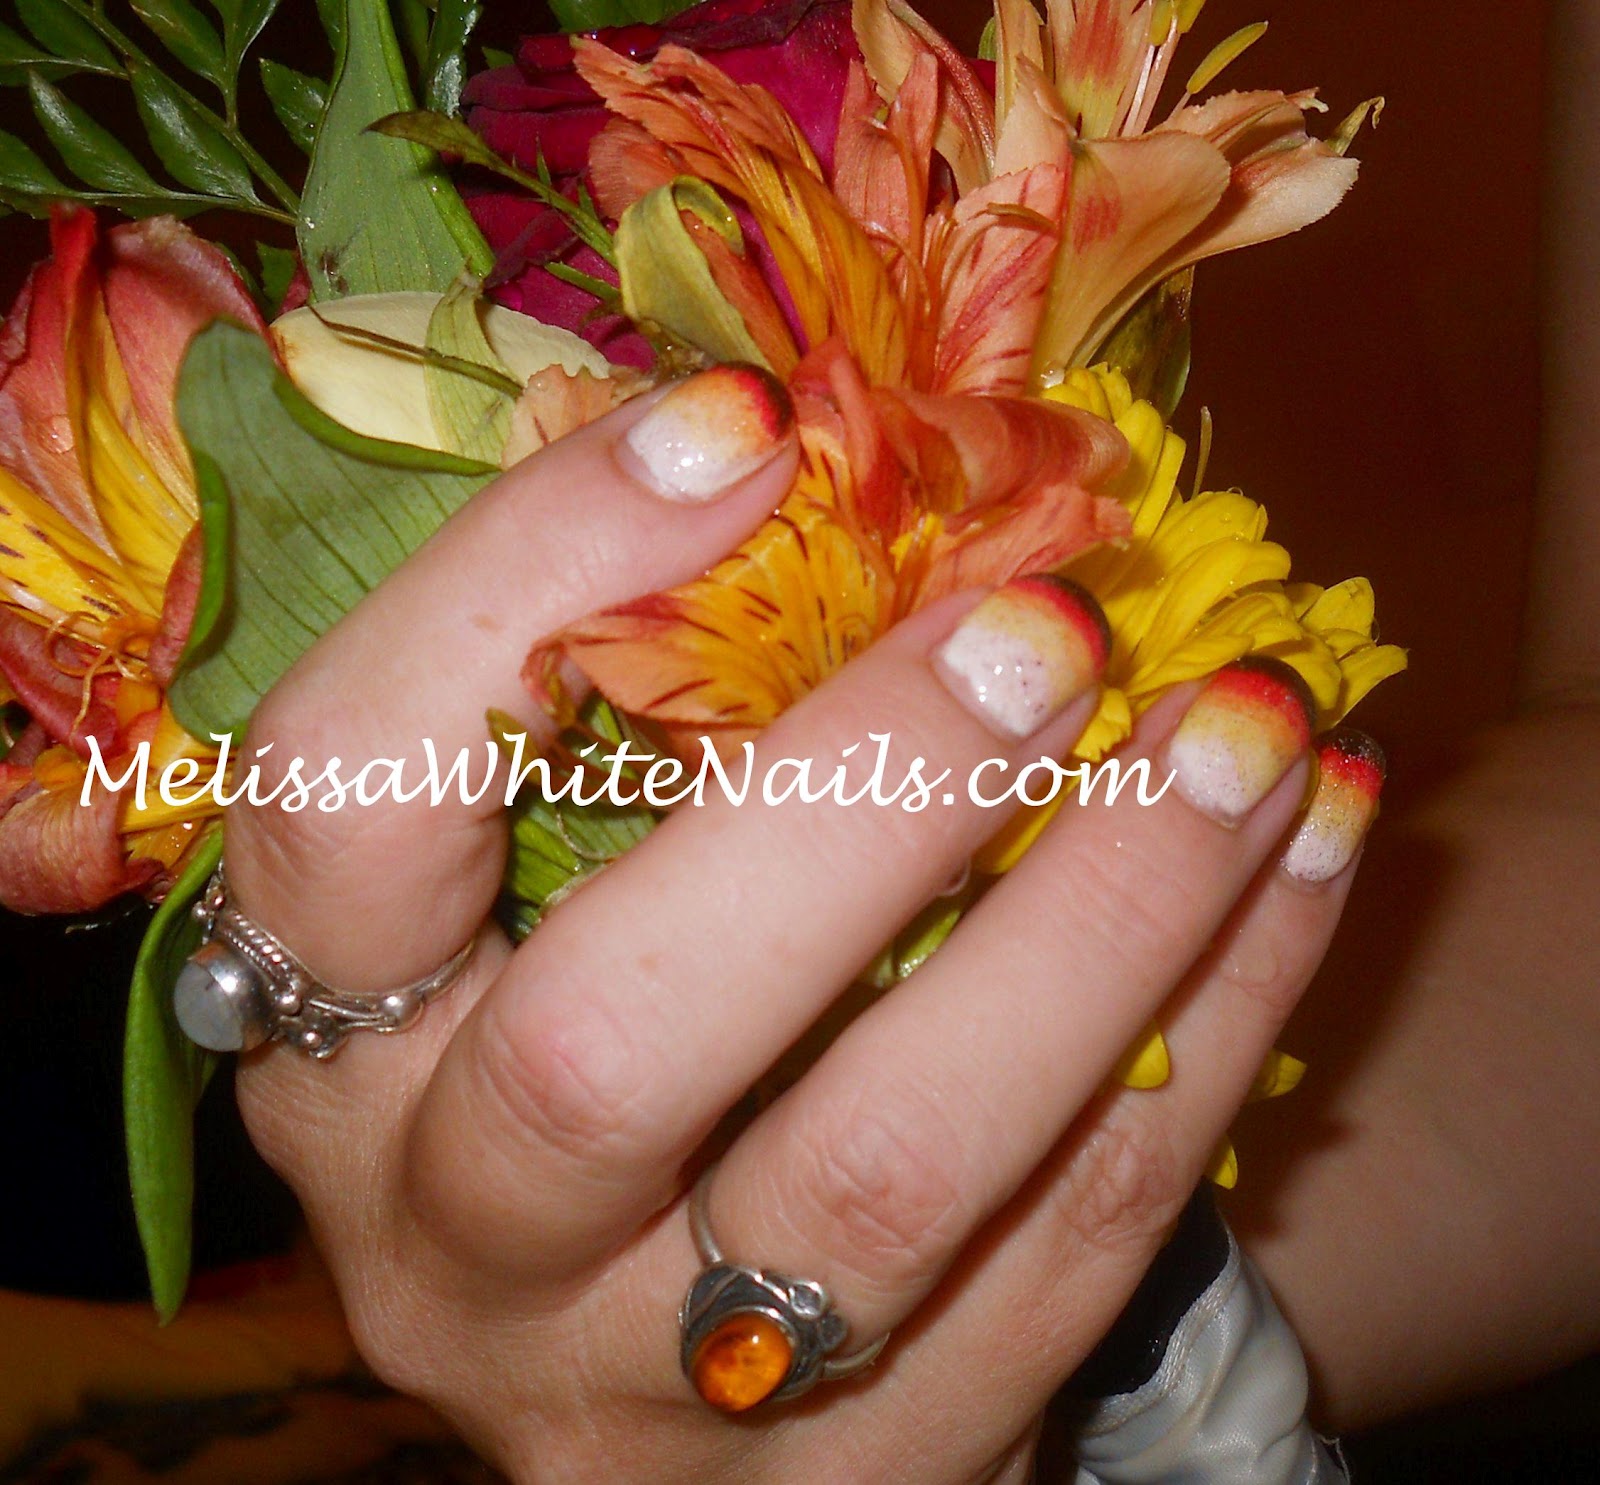
The flowers are from my daughter's bouquet. She was one of my bridesmaids and I had to get the nails with the flowers becauses I did like my wedding flowers. I wonder how much of that is because I did my own flowers? haha!
That's all for this week - I'll see you all next Sunday! Have a nailicious week!
Sunday, May 20, 2012
More Experiments with Gelish
Happy Sunday! I hope you all enjoyed your weekend, I am on the road to recovery from my recent illness. It was not serious but it was enough to keep me from my blog and nail art for awhile.
While I was away, I did change my gelish and for those of you that also follow my twitter, I discussed trying to create a gelish sandwich and a sunset gradient. My sunset gradient is one of my most popular nail art designs, especially in the gel. However, during the removal of my old gelish manicure, I accidently broke THREE nails down to the nail bed. It was pretty devastating for me because they are so short, it looks like I bite my nails or something like that. But I can't stand uneven nail lengths, so I cringed and cut and filed away. I reapplied my new gelish mani doing it in the usual way on my left hand and trying to incorporate the "jelly sandwich" technique into this gradient.
I have very mixed feelings about how this experiment came out. You be the judge.


While I was away, I did change my gelish and for those of you that also follow my twitter, I discussed trying to create a gelish sandwich and a sunset gradient. My sunset gradient is one of my most popular nail art designs, especially in the gel. However, during the removal of my old gelish manicure, I accidently broke THREE nails down to the nail bed. It was pretty devastating for me because they are so short, it looks like I bite my nails or something like that. But I can't stand uneven nail lengths, so I cringed and cut and filed away. I reapplied my new gelish mani doing it in the usual way on my left hand and trying to incorporate the "jelly sandwich" technique into this gradient.
I have very mixed feelings about how this experiment came out. You be the judge.

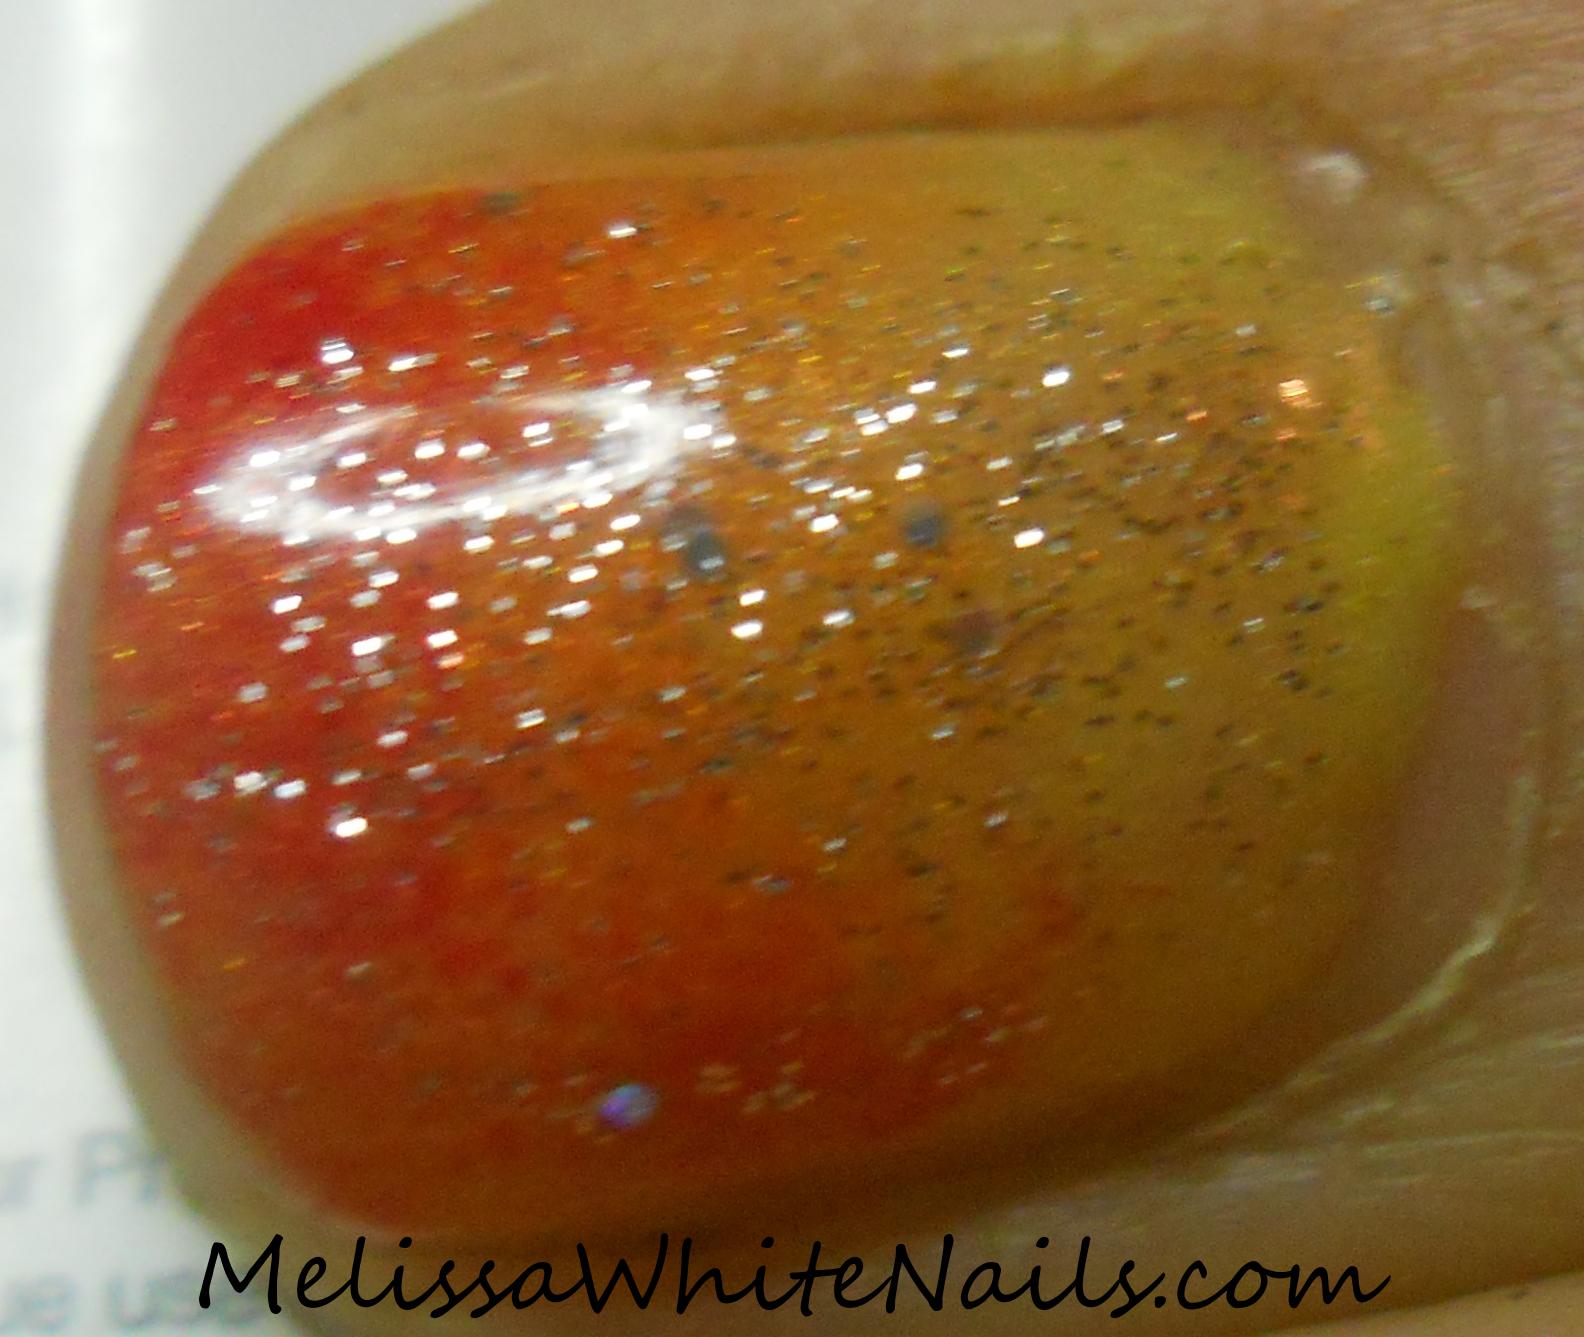
It came out ok but unlike the previous attempt with the sheer color - the glitter doesn't really pop through...it's so much more subtle. This is a disappointment for me, because the boldness of the colors with a sunset gradient requires less subtlety and that super visible depth that I had with my regular Gelly Sandwich.

There's a macro shot of this one. Please pardon the horrible length. You can see the glitter is there if you go poke someone's eye out or stare at it for awhile. Let me post the pix of the sunset gradient the way I normally do it with the shimmery glitter coat on top of the gradient.

I think the regular sunset gradient came out much better. Not just because of the shimmery glitter being on top but also because I did a better job sponging it on with this hand too. This was an all around experiment on a number of levels. Normally, when doing a gradient using gelish, I do one coat with more definite 'lines' and then sponge on the next color to blur the line. I had used this technique because each color requires two coats and when I started working this out with the Gelish I was not as good with gradients in general or working with the gel itself as I have become over the last few months.
The change in my gradient technique is a definite WIN, but the Sunset Gelly Sandwich is a fail in my book. What do you think??
Sunday, May 6, 2012
Blue Ombre Gradient
Good Morning fellow nail art fans! I'm back to my obsession with blue and this time I'm really diving in to the color! I have blue ombre gradients that go from light blue to an indigo blue! Of course, I included glitter and shimmer galore because I can't help myself.

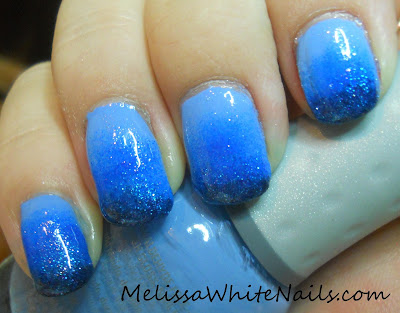

This is another one I tried the other night but changed it just a little bit because deep down I was unhappy with the original concept. I originally had the colors going from white to blue to dark blue to indigo and I think that was just too many colors and my nails aren't long enough to give a proper graduation to the color.

I genuinely love love love this gradient and I have a few sundresses this would go fabulous with come summer time!! I hope you enjoyed today's post and Thanks for reading!!
Saturday, April 28, 2012
Gel-ly Sandwiches
Good Morning and a wonderful Saturday to you! I'm soo excited about today's Nail Art. After removing my Emeral Fish Egg Mani, I also removed all my Gelish polish. Time for a new Gelish Manicure! After seeing the many "jelly" themed tweets and blog posts by Jeanette at the swatcholic I was completely inspired to see how a "Gelly" sandwich would look using my Gelish.
For those that are not familiar with the term "jelly sandwich" it's a layering technique involving using "jelly finish" polishes with a layer of glitter in between. Now Gelish doesn't have a "jelly finish", however, it does have shades that are sheer which would work like a 'jelly', and some very nice glitters. You'll have to pardon the low lighting here - using flash and bright light, you just couldn't see any of the glitter or the effects that it actually has.


For those that are not familiar with the term "jelly sandwich" it's a layering technique involving using "jelly finish" polishes with a layer of glitter in between. Now Gelish doesn't have a "jelly finish", however, it does have shades that are sheer which would work like a 'jelly', and some very nice glitters. You'll have to pardon the low lighting here - using flash and bright light, you just couldn't see any of the glitter or the effects that it actually has.

For this one I used my old favorite "Taffeta" and layered it over "June Bride". The silky finish of "Taffeta" over the glittery goodness is just stunning!! I love love love this!! So I'm going to show you another photo.

If you want to get a really close look - just click the pictures and you can see how great this effect is.

Then I decided to go ahead and stamp over it a tiger pattern using a berry polish and the glitter shows through that too which is just as amazing.

You can clearly see one of the larger pieces of holo glitter shining through the stripes on my middle finger and it's just amazing. I love this look and I think I'll be sporting it more often!
I hope you enjoyed today's Gelishicious Gelly Sandwich and thanks for reading!!
Saturday, April 21, 2012
Flowering Bride
Good Morning and Happy Saturday!! I hope your weekend is off to a good start! I'm continuing my bridal theme today and today's mani I'm going to show you a design in different mediums. Straight nail polish, using Gelish UV Soak off Gel Polish, and finally in acrylic. Let's get right to the nail art, shall we?


These are dried flowers that I purchased from Born Pretty, one of my favorite online sources for nail art materials. Although, I understand that I may soon have a more local to me source and I'm all for supporting budding businesses in my state. I normally like to do this with a rhinestone center but I'm currently out of the correct size and I thought I'd see how it looked using micro-beads as a center. I'm pleased with the outcome. We can't have the fingernail bling outshining the bling on the finger at a wedding now, can we?

Here is the exact same design using Gelish. Because the tips I had prepped were clear, I went ahead and added a base layer of pink to make the nails opaque. I used structure gel to "embed" the microbead centers and keep them firmly secure to the nail.

Here, we again have the flowers with micro-bead centers but now they are completely embedded in acrylic. I layered a glitter gelish polish and the gelish topcoat over the acrylic to give the design the same glittery look as the other mediums. Although, I could have also done this by mixing super fine glitter in with my acrylic powder. Finding loose, super fine, holo glitter is a bit of a challenge.
I hope you enjoyed today's Bridal Looks and it gave you something to consider, not just for your wedding but for those other special occasions. Some art can be done in other mediums, especially with fun things like nail foils, etc. Thank for reading and I'll see you tomorrow!!
Friday, April 13, 2012
Fish Egg Friday!!
I'm baaaaack!! I decided to go ahead and double post today and bring you "Fish Egg Friday"! This was a last minute blog community event and I'm very glad I decided to do this. I've never done a caviar manicure and I'm certainly glad I gave it a shot!! Look for more of these style nail art manicures in the future.
This style nail art first appeared on the runway last year at Mercedes Benz New York Fashion Week and you can read about Dashing Diva Pro's avant guarde look here. This is the specific look I attempted to replicate today! I apparently need to be clear about that since there's a DIY kit available by Ciate, a brand from the UK and it very much differs from the original look. Now on to the pictures!!


Here in the second shot, you can see how the glitter as become part of the texture. I used Orly's "Shine On Like a Diamond" as a top coat here both to get the glitter effect and to secure the beads to my nail firmly. I have previously discovered from working with micro-beads that using a fast dry top coat can sometimes effect the color of the beads by almost leeching the color from the beads and making it bleed into your design. If you want to skip my rant, just jump to the end to get a list of all the other gals participating today!
I am going to take a moment to talk about why I decided to participate in "Fish Egg Friday". I am a professional nail technician, I am licensed by my state and this "Ciate caviar manicure" product is not marketed to me as a professional. I also don't do product reviews except in the most incidental manner (I used this, I don't use that, etc.) This product is not even available in my area except online. The recent unprofessional conduct of their PR dept toward the beauty bloggers as a whole embarrasses me. Outside the fact that I am a former DIY-er who made the transition to professional, One of the things I enjoy about my profession is the industry as a whole and the professional code of conduct that doesn't include that sort of behavior. We don't put each other down publicly or behave negatively towards each other. This industry attracts certain types of people and those that flourish are caring, supportive, positive bundles of energy.
This is a unique industry. It's one of the few industries where duplication and imitation is what helps us grow, evolve and push us in new directions while still offering quality, iconic products/services. Offering consistent quality and accessibility is what gives your "branded technique" staying power not legal action against those who chose to not promote your product to achieve a look you didn't create. One has only to look into the history of the "French Manicure" to see an example of how it really works. Exclusivity and trademarking is not what has made this field the biggest growth industry at a time of world-wide recession. It has been it's accessibility of quality to the average person at every level which has made us all flourish.
I expect the folks at Ciate to follow in the footsteps of Max Factor and Orly and their "french manicure" and re-orient their PR staff appropriately. This type of behavior may work in other industries, but it doesn't fly in this one. Here, the rule of the day is either adjust the quality or adjust it's accessibility (price).
Thanks for hanging around to read my rant! Here's a list of the other bloggers participating in today's "Fish Egg Friday" be sure to check out their GREAT manicures cuz this is a amazing line-up!! The list keeps getting longer so be sure to check back and see all these new great caviar manis! You can also keep up with everyone else on twitter who's jumped in using #fisheggfriday!
This style nail art first appeared on the runway last year at Mercedes Benz New York Fashion Week and you can read about Dashing Diva Pro's avant guarde look here. This is the specific look I attempted to replicate today! I apparently need to be clear about that since there's a DIY kit available by Ciate, a brand from the UK and it very much differs from the original look. Now on to the pictures!!

These were all taken in bright sunlight to highlight the glitter and to demonstrate what a difference it makes to the overall look. Personally, I feel that without the glitter, the look risks looking like nothing more than a smudged up black nail from any distance. Let's be honest here, our nails don't get noticed up close unless we're in the habit of poking people in the eye.

Here in the second shot, you can see how the glitter as become part of the texture. I used Orly's "Shine On Like a Diamond" as a top coat here both to get the glitter effect and to secure the beads to my nail firmly. I have previously discovered from working with micro-beads that using a fast dry top coat can sometimes effect the color of the beads by almost leeching the color from the beads and making it bleed into your design. If you want to skip my rant, just jump to the end to get a list of all the other gals participating today!
~Rant Time~
I am going to take a moment to talk about why I decided to participate in "Fish Egg Friday". I am a professional nail technician, I am licensed by my state and this "Ciate caviar manicure" product is not marketed to me as a professional. I also don't do product reviews except in the most incidental manner (I used this, I don't use that, etc.) This product is not even available in my area except online. The recent unprofessional conduct of their PR dept toward the beauty bloggers as a whole embarrasses me. Outside the fact that I am a former DIY-er who made the transition to professional, One of the things I enjoy about my profession is the industry as a whole and the professional code of conduct that doesn't include that sort of behavior. We don't put each other down publicly or behave negatively towards each other. This industry attracts certain types of people and those that flourish are caring, supportive, positive bundles of energy.
This is a unique industry. It's one of the few industries where duplication and imitation is what helps us grow, evolve and push us in new directions while still offering quality, iconic products/services. Offering consistent quality and accessibility is what gives your "branded technique" staying power not legal action against those who chose to not promote your product to achieve a look you didn't create. One has only to look into the history of the "French Manicure" to see an example of how it really works. Exclusivity and trademarking is not what has made this field the biggest growth industry at a time of world-wide recession. It has been it's accessibility of quality to the average person at every level which has made us all flourish.
I expect the folks at Ciate to follow in the footsteps of Max Factor and Orly and their "french manicure" and re-orient their PR staff appropriately. This type of behavior may work in other industries, but it doesn't fly in this one. Here, the rule of the day is either adjust the quality or adjust it's accessibility (price).
Thanks for hanging around to read my rant! Here's a list of the other bloggers participating in today's "Fish Egg Friday" be sure to check out their GREAT manicures cuz this is a amazing line-up!! The list keeps getting longer so be sure to check back and see all these new great caviar manis! You can also keep up with everyone else on twitter who's jumped in using #fisheggfriday!
Friday, March 23, 2012
Trying new things
Happy Friday everyone!! I hope your weekend is off to a great start! I know mine certainly is. I'm very excited to show you today's nail art! I really had trouble sleeping the other night because I was just that excited about how these came out.
I had been meaning to try my hand incorporating acrylic paint in my nail art and I finally got the paint to give it a shot. I'm still very much in the spring vibe so I started with flowers!


I had been meaning to try my hand incorporating acrylic paint in my nail art and I finally got the paint to give it a shot. I'm still very much in the spring vibe so I started with flowers!

I'm so very happy with how this ultimately turned out. In my mind, I still need to work on forming the flower petals and leaves, but even with the not quite perfection, I'm totally digging this! I'm also loving it that my camera managed to catch a bit of the holo for the accent bits. It's a very strong non-linear holo and that the picture came out very much how it did in person brings me much joy.

This one is in honor of the opening of "Hunger Games" tonight. I did a gradient using my hunger games polish and white and orange acrylic paints to do the flower. The flower is supposed to represent the flowers that Katniss covers her fellow tribute and ally in during the story. I love this one as well and used a gold holo to accent the orange. The holo is not as strong in person as it is for the one above - but I didn't want to obscure anything by usin such a strong holo.
I hope you enjoyed today's trials and any feedback you have about these designs would be awesome!! Suggestions are always great too ;)
Thursday, March 8, 2012
Pink Argyle!
Good Morning and a wonderful Friday Eve to you!! So I had previously joined pinterest, and one of the boards I created was of nail art I like and want to try out! Today's Nail Art is one that just love for it's simplicity and girly factor. I think I could have executed this one better, but I'm definitely not unhappy with the overall result and my execution will get better through repetition but you be the judge. I bring you Pink Argyle!


You will probably see this one again when I get it worked out so it looks much crisper and cleaner. The pink is OPI's "Pedal Faster Suzi" from the Holland Collection Mini Set. I'm not even going to mention how many coats it took to hide my sunset mani undernearth. I just love the overall look of this one. It's definitely the glitter accent and the jewels that give it the girly vibe that I fell in love with.
I may or may not have a post for you Friday, I'm starting a "fix-up" project on my work space and the initial portion of that requires that I move everything out to do what I need to do. So I might get that part completed today and everything back in and be able to do some more nail art, but then again, I may not get to the Nail Art. I will return as soon as humanly possible tho!!
Monday, March 5, 2012
Gelish Grandients gone wild!
Happy Monday!! Continuing on with my ongoing gradient kick...today I bring you Gelish gradients. I have previously posted my "Fall Colors" gradient as part of my Gelish tutorial, and I'll repost it today but *after* the new one that I'm currently wearing and am in total love with!!


The flower is stamped using regular polish. I was tempted to use the gelish to paint on another palm tree, but I already did that design using all regular polish and it seemed kind of redundant. So, I just finished off with the topcoat sealer and then stamped the flower on......knowing I could change it to anything else depending on my mood. This is really the reason I just LOVE LOVE LOVE Gelish. Because I can change that multiple times a day and it can hold up! I think I have done a much better job getting the gradient. One of the challenges here is that the gelish half dries, just a film on top, so sponging with it doesn't always create that smooth transition you can get with regular polish. So i will sometimes cure that layer...then take a fresh sponge and very lightly dab to get it properly and then cure again. It really does help that the sponge is not picking up any extra from the nail. You can be the judge by checking out the last Gelish Gradient I did.

I hope you enjoyed today's Nail Arts and if you haven't already considered it, take a serious look at the Gelish products, or any of the UV cured Soak Off Polishes. They truly are a bunch of fun and soooo much more versatile than the manufactures even realize!! This is doubly true since nail art is transitioning from a trend into the Mainstream!
Tuesday, February 21, 2012
Star Flowers
Good Morning and a groovy day to everyone! I'm just going to get right to the picture this morning!
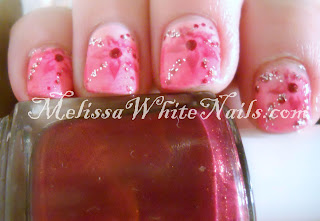
You'd think I'd be sick to death of the pinks, but I'm strangely not. Just because I can, here's another shot.
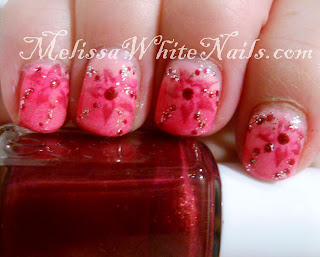


The second photo, the gradient background is much more pronounced than in the first one. I like both shots, and I just couldn't bring myself to pick only one. This was a very easy one to do. I did a pink gradient starting my Gelish "Go Girl" and I then sponged on a generic unlabeled polish (I get them for a buck a piece at the nail supply place - great stuff for doing nail with) in hot pink and again with a deeper toned berry color. I stamped the flower using my unknown Essie color. Sadly, I have no idea what the name is because the writing on the label has long since worn off I've had this one for so long. I grabbed my dotting tool and added a larger dot for the center of the flowers and dot trails in between the petals. Finally, I took my bottle of generic silver glitter, using my striping brush, I brushed glitter over the dot trails. A coat of Seche Vite and *poof* a Star Flower is born!
We'll see how it goes tonight and how my fingers are doing and hopefully I'll be back to nail art tomorrow.
Monday, February 6, 2012
14 Day of Love - Day 6
Happy Monday! As I promised yesterday, I took a little extra time and added some fun glitter to today's mani. It's supposed to be a pink glitter and it's definitely pink in the jar, but when you put it on the nail, it's comes out a more coral color. I still like it very much and I used it often in some of my acrylic designs. I hope you enjoy!


This is in shade

This is in direct sunlight
I hope you enjoyed today's nail art. I absolutely have to do some more with nail glitter next week.
I am already contemplating what I'll be posting after Valentine's Day but before St. Patricks. I have been wanting to highlight some of my fun acrylic materials and a few designs to go with them. As I have mentioned before, I cannot put acrylic on my nails because I have sensitivities when applied to my own nails. I hadn't given up on the concept and I think I have figured out how I can do it without torturing myself. Who remembers "Press On Nails?" Did you know you can still buy the press on gum used for those kits? We'll see how long it takes me to create the acrylic nails to "press" on before I decide if it'll just be a weekly feature for awhile or an every day topic.
Thursday, January 19, 2012
31 Day Nail Art Challenge: Day 19 - Galaxy
Today's post is Galaxy Nails. This one was a little awkward and a lot tough for me. My origina concept totally didn't work out... I was less than thrilled with it....it was bad enough that even my fiance asked "Are you sure you want to go with that?". He's a stereo typical guy who knows nothing about nail polish.....and usually doesn't even notice what I've got on my nails. I took that as a sign and that was the end of that. Here's what I did finally come up with......it's completely not fancy or even especially artistic. Most of the thoughts I had on this one, far outstripped my skills.

For this one I used a base layer of OPI's "OPI Ink" and topped that off with a layer of Jade's "Star Lights" (silver glitter). The challenge on this one was getting the glitter distributed across the nail in a fairly even way. Some streakiness was ok, but it couldn't be to obvious that it was brush strokes.
Tomorrow's post - Water Marble! Another one that I found difficult.

For this one I used a base layer of OPI's "OPI Ink" and topped that off with a layer of Jade's "Star Lights" (silver glitter). The challenge on this one was getting the glitter distributed across the nail in a fairly even way. Some streakiness was ok, but it couldn't be to obvious that it was brush strokes.
Tomorrow's post - Water Marble! Another one that I found difficult.
Thursday, December 29, 2011
Birthday Mani Quest
I finally have sorted out all my pictures and edited *everything* that was on my camera. It's all neatly organized and tucked away on an external USB drive. Yay! Time to start working on those posts for the 31 Day Challenge! woohooo!!
Last night I had to remove the acrylic overlay from my nails. It was driving me crazy. My nails get sooo itchy. I don't have that problem working with acrylic in general but gosh does it drive me insane if I try and wear it! It's truly the itch you cannot scratch! I'm not too sad about not being able to wear it for my birthday since I really only slapped it on there and I was quite sloppy about it. I was really only looking to get feedback on the color and glitter combo. Any constructive criticisms u have about the mixture, plz feel free to share.


Last night I had to remove the acrylic overlay from my nails. It was driving me crazy. My nails get sooo itchy. I don't have that problem working with acrylic in general but gosh does it drive me insane if I try and wear it! It's truly the itch you cannot scratch! I'm not too sad about not being able to wear it for my birthday since I really only slapped it on there and I was quite sloppy about it. I was really only looking to get feedback on the color and glitter combo. Any constructive criticisms u have about the mixture, plz feel free to share.

That picture was taken in full sun.

This was taken indoors with a flash. I am not set up to take pictures indoors so it is not as good as the outdoor one but you at least get the idea. I don't think I like the idea of it being full coverage the way it is in the photos, but i definately think it would be awesome in a variation of french tips or something similar.
I still need to find something to do for my mani tomorrow. Since I broke BOTH of my ring finger nails down to the nail beds, I have to trim the rest super short to keep them from looking silly. Whatever I come up with must be for short nails. I'm half tempted to just paint them with China Glaze's Ruby Pumps and not do any nail art at all and just do my toes to match. I love that polish sooo very much! Of course, I have a few other polishes that I'm currently in love with that I haven't worn on my own hands at all and it might be fun to try one of those out. Whatever mani I do will be doing double duty as my NYE mani as well. I wonder if I can pull off striping my toes with black, white, and gold glitter?

Nawww, I think I'll do the stripes on just the big toe....let the rest of my toes be sparkly.
In other news. I'm back to sharing a computer with my Fiance, Tom. At least I have access to all of my pictures and the internet and right now, I'm grateful for that much. We have some ideas to try and get me back up and running, but who knows how that is going to turn out. At least I'm not going two steps forward and six steps backwards.
Subscribe to:
Posts (Atom)