Pages

Showing posts with label dots. Show all posts

Wednesday, May 2, 2012

Let me try it one more time!

Good Morning and Happy Hump Day! It's Wednesday and today I'm a little sad. It's my last day being the primary teacher at my daughter's preschool. After this, I'm only scheduled to be "hall monitor/time out" and then the school year will be done. My babygirl is growing up and I'll miss spending my mornings with the other kids too.

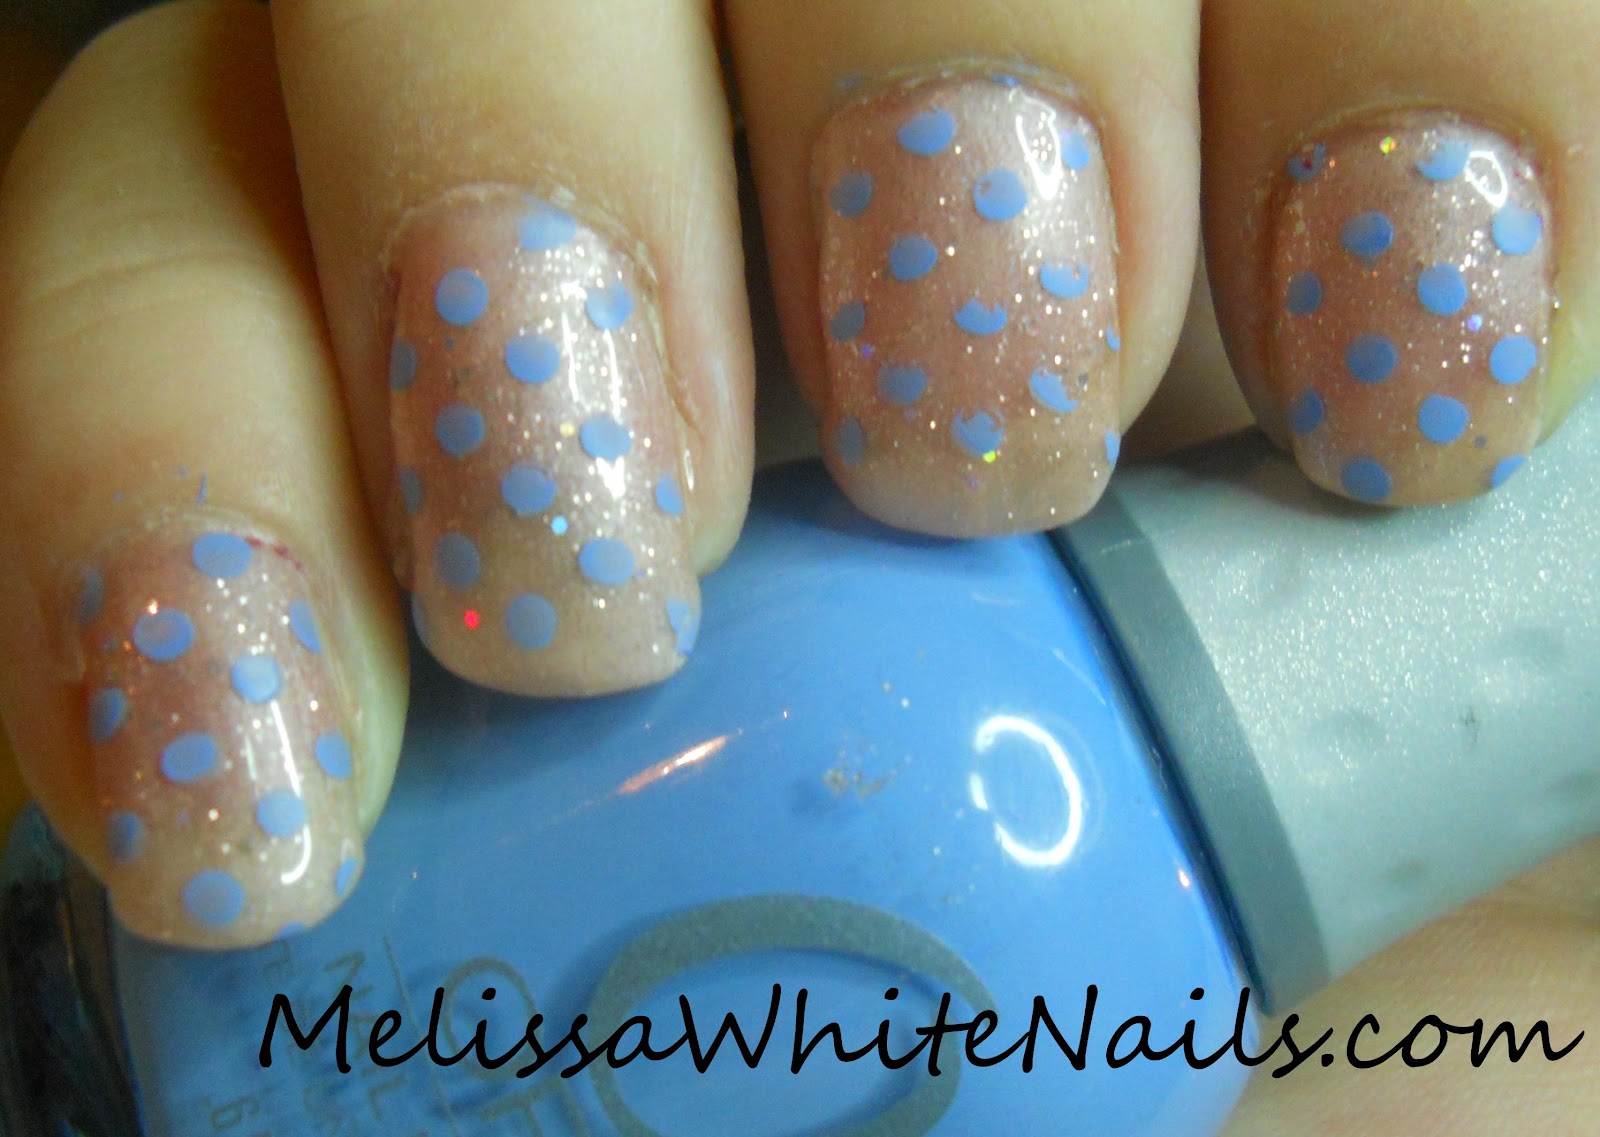
Since I'm a little bummed, I decided to post more blue squishy goodness to cheer me up! Yay! Yah, I really am that easy to cheer up.


I stamped this one, but in hindsight, I probably would have done better to use my dotting tool. I just wanted to try out that plate and see how it looked. 


I just can't stress enough how awesome this looks and I have gotten many compliments on these. Ok, one more just because I can and it's awesome.


I hope you enjoyed my blue squishy love fest this morning and thank you for reading!!


Friday, March 30, 2012

Take Your Pick

Good Morning! Happy Friday! Today's nail art is one that you can use for Easter or if you don't celebrate Easter, it's still a great spring nail art!  This is a look I wore all this week, and it was very cute!


I got the idea for this one, from pinterest and I'm very happy with how it came out. Enjoy!

Wednesday, March 28, 2012

Black, White and Dotted All Over

Happy Hump Day! Today I bring you another nail art from my pinterest "to-do" list".  I seriously considered doing this one using microbeads, but decided against it until I was sure I could do it using a plain old dotting tool.


There is something just inherently cool about the design and the fact that it's all done in dots. Simple but funky at the same time. What I find interesting is that you could use this design as an accent nail and do the rest of your nails with just the bottom dots........or do all 10 of your nails using the whole design like the pinterest photo.

I think if I do this design using micro-beads, I'll have to modify this design a bit, make the top "half" into a whole and center that on the nail more. Maybe use rhinestones for the large dots across the free edge? Definitely add that to my "to-do" list. 

Funny how I keep doing designs from my list, but the list keep getting longer!!

Friday, March 23, 2012

Trying new things

Happy Friday everyone!! I hope your weekend is off to a great start! I know mine certainly is. I'm very excited to show you today's nail art! I really had trouble sleeping the other night because I was just that excited about how these came out.

I had been meaning to try my hand incorporating acrylic paint in my nail art and I finally got the paint to give it a shot.  I'm still very much in the spring vibe so I started with flowers!


I'm so very happy with how this ultimately turned out. In my mind, I still need to work on forming the flower petals and leaves, but even with the not quite perfection, I'm totally digging this! I'm also loving it that my camera managed to catch a bit of the holo for the accent bits. It's a very strong non-linear holo and that the picture came out very much how it did in person brings me much joy.


This one is in honor of the opening of "Hunger Games" tonight. I did a gradient using my hunger games polish and white and orange acrylic paints to do the flower. The flower is supposed to represent the flowers that Katniss covers her fellow tribute and ally in during the story. I love this one as well and used a gold holo to accent the orange. The holo is not as strong in person as it is for the one above - but I didn't want to obscure anything by usin such a strong holo. 

I hope you enjoyed today's trials and any feedback you have about these designs would be awesome!! Suggestions are always great too ;) 

Thursday, March 22, 2012

More Experimental Nail Art

Happy Friday Eve to you!!  Today I have some more experimental nail art to show you.  This time I'll be showing you two Gelish nail arts. I usually do just the Gelish as my base color, but these are completely done using Gelish polishes.


You can see the larger pieces of holo glitter in this photo and some of the pink holo shimmer as well. It's super sparkly that's for sure!!


This second one is a super glittery sunset with a beaded palm tree done in black. This is the same glitter I used in the one above but it doesn't quite catch the "holo" like the one above did. I was dying to do something beaded with the gel and here it the first one! 

That's it for today. I'll be back tomorrow to show you some of my first attempts at using acrylic paints with nail polish to make flowers. I twitted some of them yesterday if you care to scroll back through my tweets to get a sneak peek!

Wednesday, March 21, 2012

Experimental Nail Art

Good Morning and Happy Hump Day!! Last night I started working on a side project I have been wanting to try out. I did nail art on some tips  and then using "press on" glue, took the pictures.  The experimental part of this was how to paint loose tips? When practicing, I've always just used nail glue or super glue to glue it to an orange stick. Regular white glue works well too, and the nail pops off clean, which doesn't happen with other types of glue. So, on to the pictures!


Not everything was successful with lil experiment. My more elaborate accent nail got messed up and as you can see there's other minor lil things where beads fell off or the design ran. Next I will try this out using Gelish over those lil cheap press-on nails you buy at the dollar store. The beads are much more secure with the Gelish when in delicate designs and the nails are reuseable if you used "press on" adhesive. 

Have you ever purchased nails with nail art already on them from someplace like etsy? If you do nail art - would you ever consider doing something like this? 

Tuesday, March 20, 2012

Daisies in a field of green

Good Morning! Today I will be showing you my current mani that I've been wearing since Sunday! I stayed up pretty late Saturday night working on this because it takes me so long to take off the old Gelish colors. Since it's me doing it, I can only do one hand at a time, so it takes twice as long. I also couldn't decide what I wanted to do with this fabulous green!! I had been watching videos on you tube, by love4nails and one of her videos showed a different technique for doing flower petals than the one I had been using. I ultimately decided to give this a try, and here it is.


I had to take these with my phone, so I apologize if the photos are of a poorer quality.

I definitely like this technique. I'm not totally ready to dump the other method just yet, but I definitely believe that this would be ideal to use with Gelish. I also want to comment on the green color here. It's a shimmery frosted green and I really am amazed just how much I like it once I got it on and got it cured. I couldn't resist doing daisies since daisies are the perfect design to go with a green background!  I hope you enjoyed and strongly encourage you to check out the other videos on love4nails' youtube channel!! 

Do you watch a lot of youtube tutorials? Who are your favorites?