Today I am showing you some pictures of what I've been doing with my time lately. I finally got around to taking some photos. These are available for sale on ebay.
I really liked the Christmas Tree designs with the zig zag style trees and decided that would be perfect to do with mirco-beads since I have so many left from the Fish Egg Mani trend that was so hot last spring. I also took the time to use the Gelish Structure Gel to overlay the bead design. It makes for a smooth nail and keeps the beads completely secure! I have about a bazillion designs in mind for beads and other little nail art doo-dads along these lines.
Now, to the pictures!!
Showing posts with label soak-off polish. Show all posts
Showing posts with label soak-off polish. Show all posts
Tuesday, December 11, 2012

Monday, August 20, 2012
Freshening Up
One of the things I like the most about UV Gel polish is the fact you can wear regular polish over it. Three weeks is a long time to wear the same look. If you're anything like me, you need to change it up a little bit, at the very least from week to week.
One of my favorite ways to freshen up a UV Gel polish mani that feels "old" or boring is to use regular polish for nail art OVER your base color. I did just that to freshen up my wedding mani! Here it is on my wedding day.


One of my favorite ways to freshen up a UV Gel polish mani that feels "old" or boring is to use regular polish for nail art OVER your base color. I did just that to freshen up my wedding mani! Here it is on my wedding day.

Here it after a quick stamp with little glitter dot flower centers added.

One of the most common things I see in my business is young ladies who cannot wear nail art during the week because of job restrictions. However, they come see me Friday afternoon - and I'll add nail art using regular polish for the weekend which they then remove using regular polish remover before going back to work on Monday morning.
Freshening up your mani doesn't always have to be done to hide wear and tear! Have some fun with it!!
Monday, March 5, 2012
Gelish Grandients gone wild!
Happy Monday!! Continuing on with my ongoing gradient kick...today I bring you Gelish gradients. I have previously posted my "Fall Colors" gradient as part of my Gelish tutorial, and I'll repost it today but *after* the new one that I'm currently wearing and am in total love with!!


The flower is stamped using regular polish. I was tempted to use the gelish to paint on another palm tree, but I already did that design using all regular polish and it seemed kind of redundant. So, I just finished off with the topcoat sealer and then stamped the flower on......knowing I could change it to anything else depending on my mood. This is really the reason I just LOVE LOVE LOVE Gelish. Because I can change that multiple times a day and it can hold up! I think I have done a much better job getting the gradient. One of the challenges here is that the gelish half dries, just a film on top, so sponging with it doesn't always create that smooth transition you can get with regular polish. So i will sometimes cure that layer...then take a fresh sponge and very lightly dab to get it properly and then cure again. It really does help that the sponge is not picking up any extra from the nail. You can be the judge by checking out the last Gelish Gradient I did.

I hope you enjoyed today's Nail Arts and if you haven't already considered it, take a serious look at the Gelish products, or any of the UV cured Soak Off Polishes. They truly are a bunch of fun and soooo much more versatile than the manufactures even realize!! This is doubly true since nail art is transitioning from a trend into the Mainstream!
Sunday, February 26, 2012
Button Down Nails
Good Morning! I did these last night, but was up late working on some other nail projects and it was after 3 am until I got in, so this morning's post is going to be more pictures and less writing.

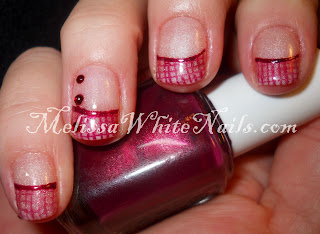


You really can't see the pink of the base color in these pictures.
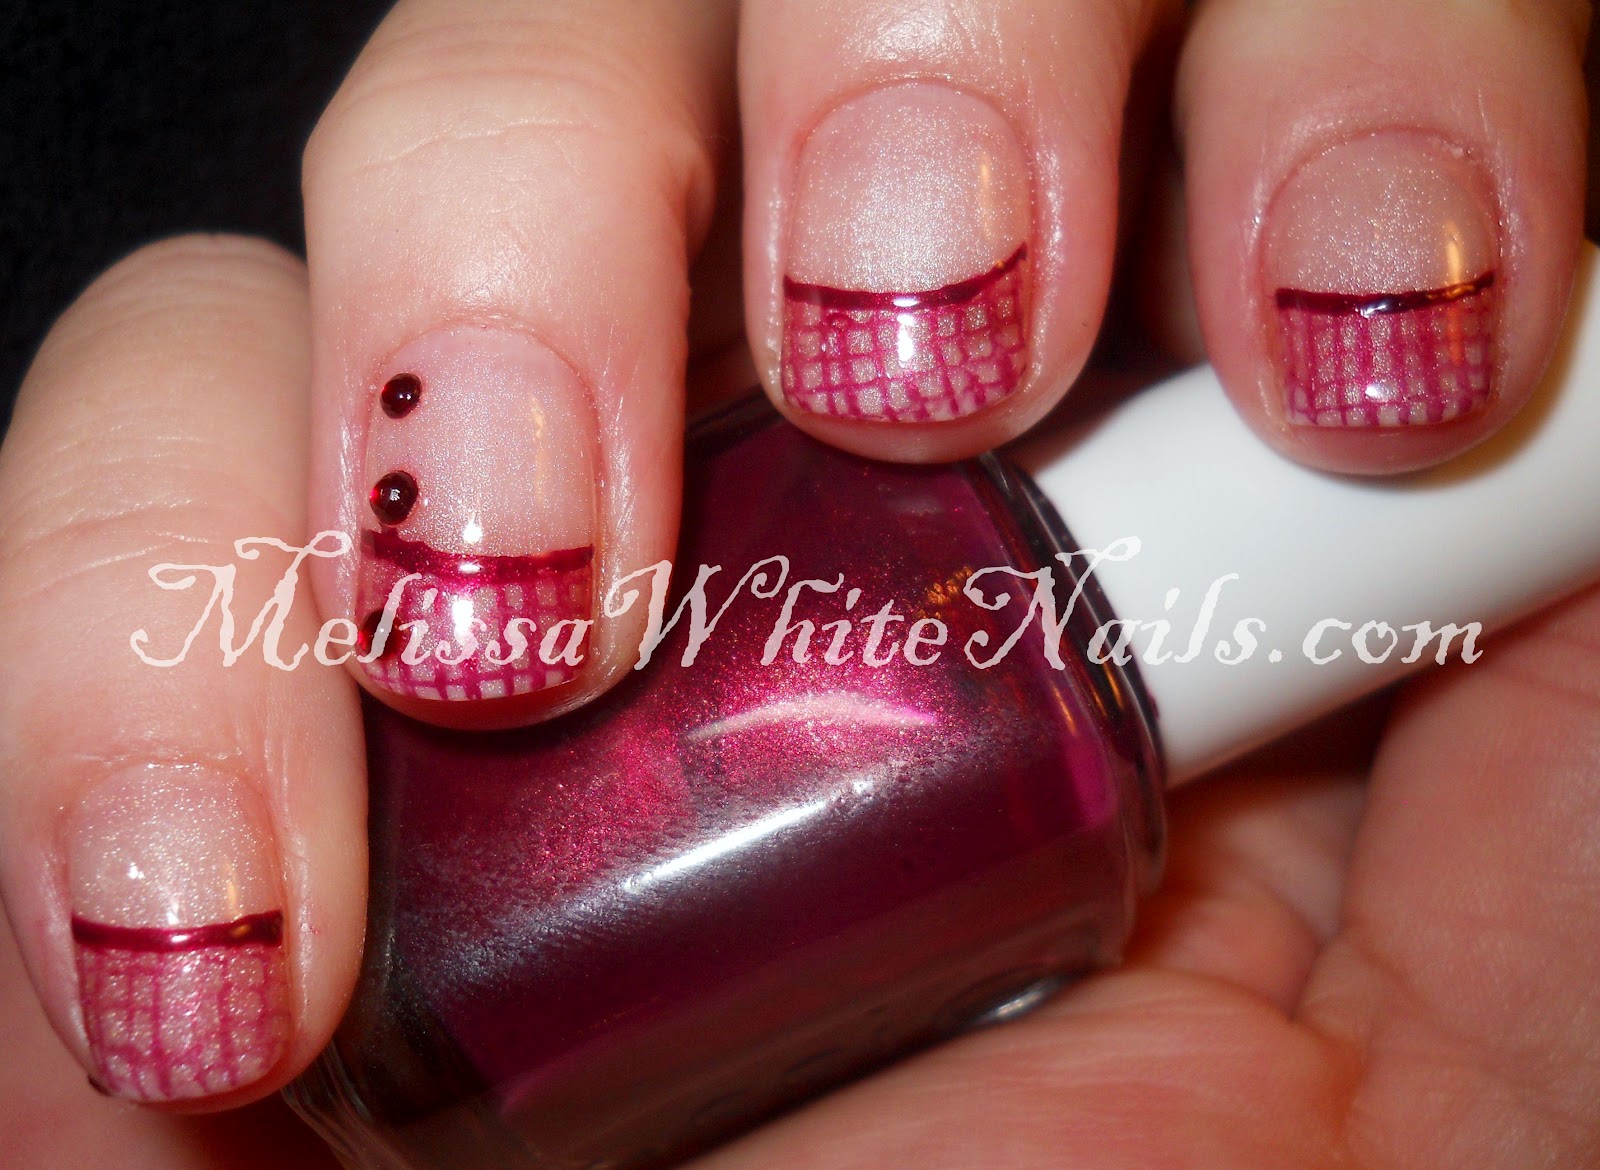

I hope you enjoyed that. You'll notice I now have a new base color. That is Gelish's "Taffeta". It's a great neutral color and I know this is going to horrify some of you, but it does have VNL. I actually have a client to prefers to have VNL always on her hands. I'm am hopping to really sell her on the gels since it's weeks in between our visits and I know how she loathes doing her own touch-ups.
I hope you all have a Blessed Day!!
Wednesday, February 22, 2012
An Experiment Gone Horribly...Right
So, I spent some time yesterday morning checking out some tutorial videos and I came across these gems through nailsmag.com. I check out a variety of their associated blogs quite often, but today I got distracted by the video tutorials. More specifically this one about how to make nail decals using UV Gels. She uses Shellac in the video but across the bottom it said you could try this with any UV Gel system. Well that got me excited to try it out!!
I managed to make it through my daytime activities until the evening time, which is my "nail work" time. I gave it a shot, and YES! The claim that it works with any UV Gel system is absolutely true! I created my first nail decal. w00t w00t It was my first attempt and I deliberately created a design that was big just so I could see if it worked before I spent a huge amount of time doing tiny detailed work. No, I didn't take a picture. I did a few that were more "to scale" and they came out okay. There's definitely a size limit on how big you can get with these things so I struggled for a few moments trying to come up with something small enough. I went back to recent art and did a heart...layering a smaller heart in a different color.
It came out fine, great even, but I couldn't imagine what the heck am I going to do with it? It's not like I can't whip out half a dozen hearts freehand in a timely way - thus defeating the purpose of using my own custom decals. My recently purchased Micro-bead set came to mind. You'll see from the pictures below, I created the design on a stiff piece of clear plastic. In fact, the first one I did on a piece of backing from a set of decals I'd already used but still had the piece of clear plastic. Recycle!
In order to maintain the right scale, I needed to use a pre-made image to work from. I decided to use my stamping plates for that. I just stamped an image on the back of an unused envelope and taped my clear plastic bit onto that. I then grabbed a toothpick, moistened the point and started picking up tiny beads. At this point I'm using a magnifying glass just so I can *see* each individual bead and place it over the design. I got into my groove and finished the design. I brushed a gel top coat onto the beads with a super thin striping brush tip. I wanted to strengthen the bond to the base of the decal but not drown the beads in gel.
These pictures are not anywhere near professional looking - but I am so excited how well this came out that I went ahead and took some even though I haven't figured out the presentation part of it yet. I just *had* to share!
I think this is a for sure winner right here. What do you think? Would you buy something like this to apply yourself?
I managed to make it through my daytime activities until the evening time, which is my "nail work" time. I gave it a shot, and YES! The claim that it works with any UV Gel system is absolutely true! I created my first nail decal. w00t w00t It was my first attempt and I deliberately created a design that was big just so I could see if it worked before I spent a huge amount of time doing tiny detailed work. No, I didn't take a picture. I did a few that were more "to scale" and they came out okay. There's definitely a size limit on how big you can get with these things so I struggled for a few moments trying to come up with something small enough. I went back to recent art and did a heart...layering a smaller heart in a different color.
It came out fine, great even, but I couldn't imagine what the heck am I going to do with it? It's not like I can't whip out half a dozen hearts freehand in a timely way - thus defeating the purpose of using my own custom decals. My recently purchased Micro-bead set came to mind. You'll see from the pictures below, I created the design on a stiff piece of clear plastic. In fact, the first one I did on a piece of backing from a set of decals I'd already used but still had the piece of clear plastic. Recycle!
In order to maintain the right scale, I needed to use a pre-made image to work from. I decided to use my stamping plates for that. I just stamped an image on the back of an unused envelope and taped my clear plastic bit onto that. I then grabbed a toothpick, moistened the point and started picking up tiny beads. At this point I'm using a magnifying glass just so I can *see* each individual bead and place it over the design. I got into my groove and finished the design. I brushed a gel top coat onto the beads with a super thin striping brush tip. I wanted to strengthen the bond to the base of the decal but not drown the beads in gel.
These pictures are not anywhere near professional looking - but I am so excited how well this came out that I went ahead and took some even though I haven't figured out the presentation part of it yet. I just *had* to share!
 |
| With Backing taped to a bottle of OPI |
 |
| With a Stamping Plate and a painted piece of paper |
I think this is a for sure winner right here. What do you think? Would you buy something like this to apply yourself?
Wednesday, February 15, 2012
Gelish Manicures!
Hello and Good Morning Everyone! Today's post is going to be long and very picture heavy - but I hope you enjoy it and can get a better understanding of the process of UV Soak Gel systems in general and Gelish specifically.
One of the perks of using a soak off system is that you are not required to use a color. You are still free to just use a base coat and then a top coat. In fact, many professionals who do long photoshoots with frequent polish changes often use the soak off gel systems instead of a regular polish basecoat. If you're a person who loves to change your mani often or swatch several polishes at a time - this might be a great option for you! I do this with my own nails since I am my own nail art hand model and have been known to do as many as 10 different nail arts in a day. That much acetone exposure can do some serious damage to your nails (just check out my cuticles in this week's posts and you'll see!) and I find it does a great job protecting my nails as well as making for easy removal!
For today's post, I decided to add a color just to show off the Gelish in it's normal salon application. Gelish also has "Structure Gel" whose purpose is to add strength to weaker nails and prevent breakage which can cause the Gel polish to chip. Far as I know, breakage and incorrect application are the only things that cause gel polishes to chip or lift.

I started out with a clean set of nails, and using a 180 grit file (included in the kit) I roughed the surface of the nail.

I then cleaned the nail using the cleaner and applied the Ph Balancer. Next I applied a thin coat of base gel, being careful to not make this coat too thick, applying a too thick basecoat can lead peeling and lifting. Clean any excess that gets on the skin or cuticle by brushing it off with a brush dipped in 90% alcohol. It is important to make sure that none of the product bakes to your skin since your skin will slough off those cells that are bonded to the product and this will cause the polish to lift off the nail and chip.

Now it's time to "bake" my basecoat for one minute. I keep a timer handy since over-exposure can be just as bad as under-exposure. The exposure time can vary depending on the type of light used. I use a small portable LED lamp who's exposure times are the same as a regular UV lamp. There are some more expensive LED lamps that can cut the exposure times down to 20 or 30 seconds but those are expensive and usually only worth the cost for professionals since they can easily make that money back by taking more clients with the time saved over the course of a day.

Next I added Structure Gel. This is not a required step! The purpose of this step is to add strength to weak nails to prevent breakage. If you already have strong healthy nails, there is no need for this part. This step is a little different than the others since it does not come in a polish like bottle with it's own brush. It is applied with a separate brush (artificial bristles only-picture shows a #14 size). Clean up any excess off the skin and cuticles and bake for two minutes.

Now, it's time to add some color. Again, you can skip this step if you just want a natural look or are using it as a basecoat for regular polishes. I decided to go ahead and use it just to demonstrate how it looks during application and you can add nail art on top of your Gelish mani to spice it up. I have a few clients who love nail art but are not allowed to wear them at work. You'll notice that the first coat of color is slightly streaky and not very opaque - this is normal! Here is my nails with the first coat of Gelish's "Go Girl". Make sure to clean any excess off skin and cuticles.

Bake two minutes (3 minutes if you're using a darker color). Apply a second coat, clean excess off skin and cuticles and repeat. At this point you are free to add additional coats of color and even nail art! The trick with using gel to make nail art is that you often have to do it in steps, baking in between. Since it doesn't dry the same way that regular polish does - you can often create designs by layering contrasting colors and put your design on by using a dotting tool to remove the second color. Here's an example of a gradient design that I did previously.


And now you're done with your Gelish Mani!

One of the perks of using a soak off system is that you are not required to use a color. You are still free to just use a base coat and then a top coat. In fact, many professionals who do long photoshoots with frequent polish changes often use the soak off gel systems instead of a regular polish basecoat. If you're a person who loves to change your mani often or swatch several polishes at a time - this might be a great option for you! I do this with my own nails since I am my own nail art hand model and have been known to do as many as 10 different nail arts in a day. That much acetone exposure can do some serious damage to your nails (just check out my cuticles in this week's posts and you'll see!) and I find it does a great job protecting my nails as well as making for easy removal!
For today's post, I decided to add a color just to show off the Gelish in it's normal salon application. Gelish also has "Structure Gel" whose purpose is to add strength to weaker nails and prevent breakage which can cause the Gel polish to chip. Far as I know, breakage and incorrect application are the only things that cause gel polishes to chip or lift.


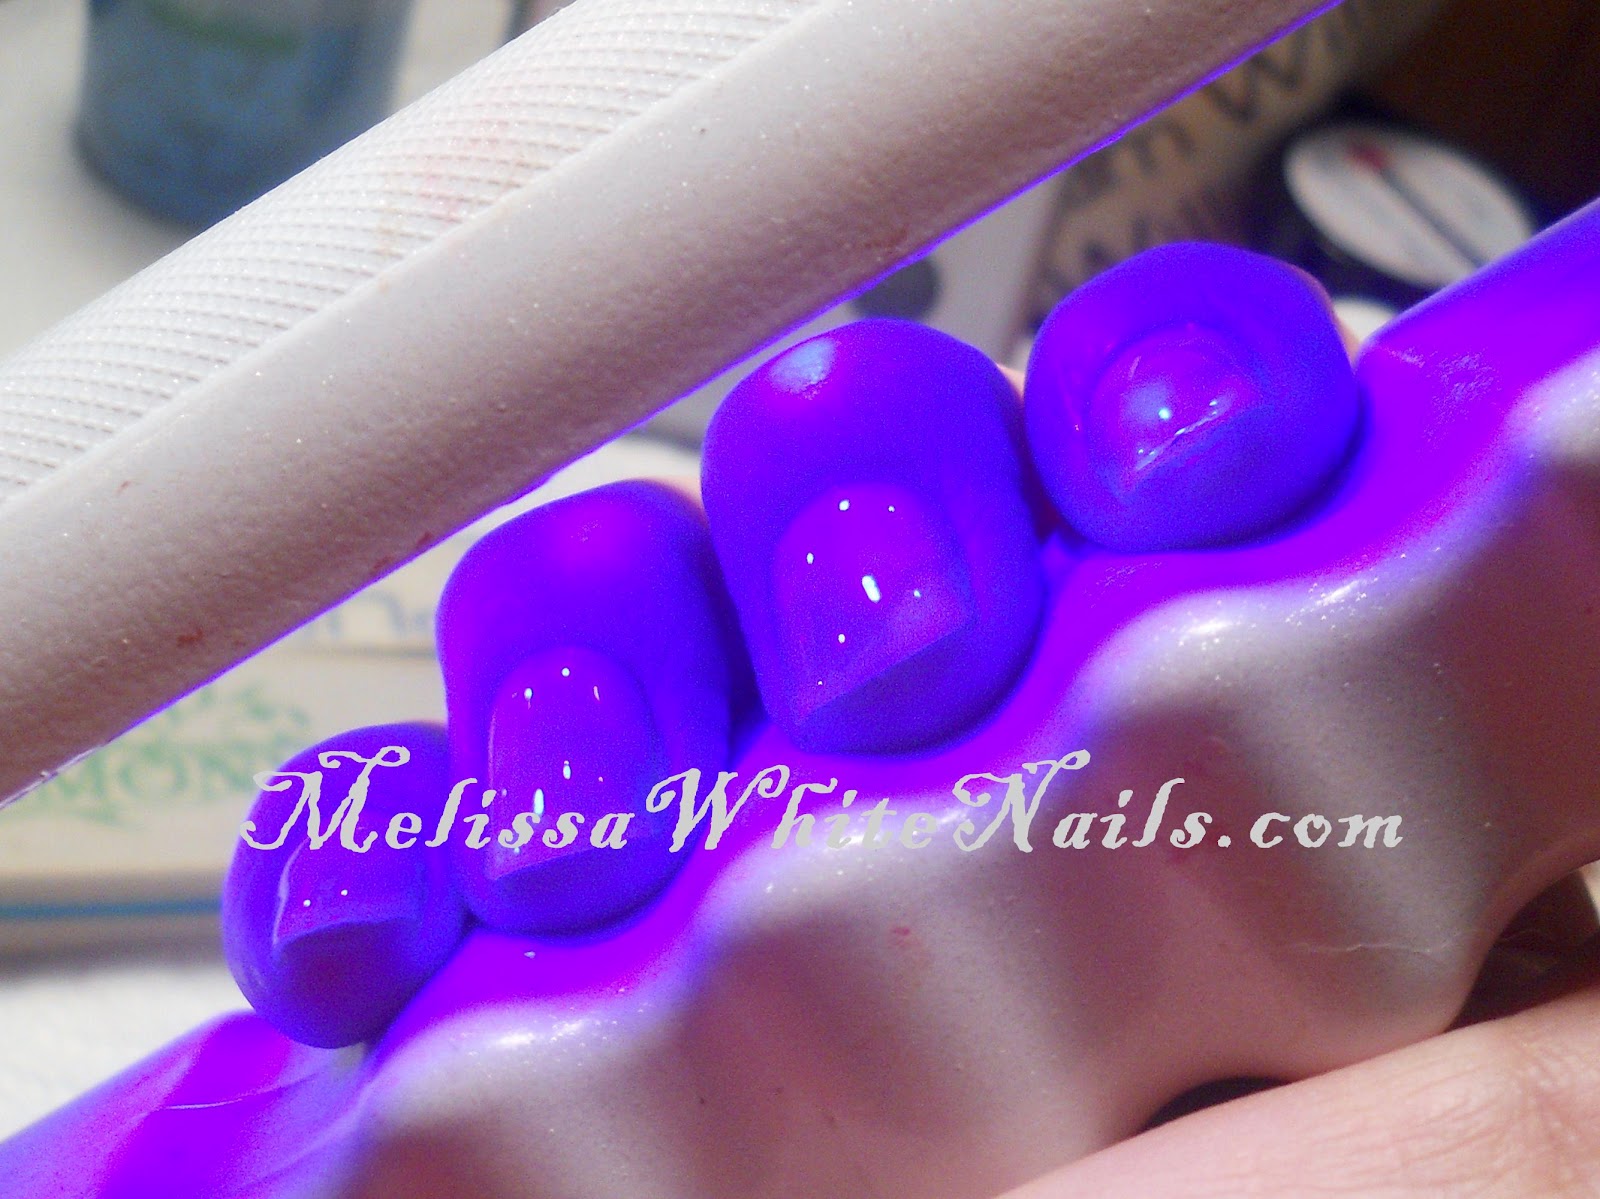
Next I added Structure Gel. This is not a required step! The purpose of this step is to add strength to weak nails to prevent breakage. If you already have strong healthy nails, there is no need for this part. This step is a little different than the others since it does not come in a polish like bottle with it's own brush. It is applied with a separate brush (artificial bristles only-picture shows a #14 size). Clean up any excess off the skin and cuticles and bake for two minutes.


Bake two minutes (3 minutes if you're using a darker color). Apply a second coat, clean excess off skin and cuticles and repeat. At this point you are free to add additional coats of color and even nail art! The trick with using gel to make nail art is that you often have to do it in steps, baking in between. Since it doesn't dry the same way that regular polish does - you can often create designs by layering contrasting colors and put your design on by using a dotting tool to remove the second color. Here's an example of a gradient design that I did previously.

Now it's time to add our topcoat. Bake the top coat for two minutes and you're done!
Notice how your nails glow in the light. If you intend on using this as a basecoat - I suggest doing a second layer of top coat or do your top coat in a one thick layer. 
And now you're done with your Gelish Mani!

The product is guaranteed to last 21 days after a professional application and I have checked out how long it lasts when I'm not brutalizing my nails - well beyond the 21 days. I let it go for four weeks and I had no chipping, fading or yellowing, but the "grow out" was just horrific! I usually have to do mine every other week because my nails do grow very quickly!
I hope you found today's post helpful and I'll see you in your blogs!
Sunday, February 12, 2012
14 Days of Love - Day 12
okay, we skipped a day - I'll have to do a double post to make up for it tomorrow.
Here's another mani I did. It's a mix of stamping and free hand!

I did the xo's and the "Love" free hand, as well as the hearts. Because I have the Gelish Soak-off UV Gel polish as my base color, I was able to make a straight edge without using tape and instead using my french brush.

Here's another mani I did. It's a mix of stamping and free hand!

I did the xo's and the "Love" free hand, as well as the hearts. Because I have the Gelish Soak-off UV Gel polish as my base color, I was able to make a straight edge without using tape and instead using my french brush.

Wow! It's almost Valentine's day already!?! I think after this is done, I'm going to do a detailed post about doing a Gelish mani. I took pictures as I did the Gelish portion for these nail art in anticipation of doing a post at some point in the future.
That's all for today! Enjoy the last bit of the weekend!
Subscribe to:
Posts (Atom)