Hello and Good Morning Everyone! Today's post is going to be long and very picture heavy - but I hope you enjoy it and can get a better understanding of the process of UV Soak Gel systems in general and Gelish specifically.
One of the perks of using a soak off system is that you are not required to use a color. You are still free to just use a base coat and then a top coat. In fact, many professionals who do long photoshoots with frequent polish changes often use the soak off gel systems instead of a regular polish basecoat. If you're a person who loves to change your mani often or swatch several polishes at a time - this might be a great option for you! I do this with my own nails since I am my own nail art hand model and have been known to do as many as 10 different nail arts in a day. That much acetone exposure can do some serious damage to your nails (just check out my cuticles in this week's posts and you'll see!) and I find it does a great job protecting my nails as well as making for easy removal!
For today's post, I decided to add a color just to show off the Gelish in it's normal salon application. Gelish also has "Structure Gel" whose purpose is to add strength to weaker nails and prevent breakage which can cause the Gel polish to chip. Far as I know, breakage and incorrect application are the only things that cause gel polishes to chip or lift.
I started out with a clean set of nails, and using a 180 grit file (included in the kit) I roughed the surface of the nail.
I then cleaned the nail using the cleaner and applied the Ph Balancer. Next I applied a thin coat of base gel, being careful to not make this coat too thick, applying a too thick basecoat can lead peeling and lifting. Clean any excess that gets on the skin or cuticle by brushing it off with a brush dipped in 90% alcohol. It is important to make sure that none of the product bakes to your skin since your skin will slough off those cells that are bonded to the product and this will cause the polish to lift off the nail and chip.

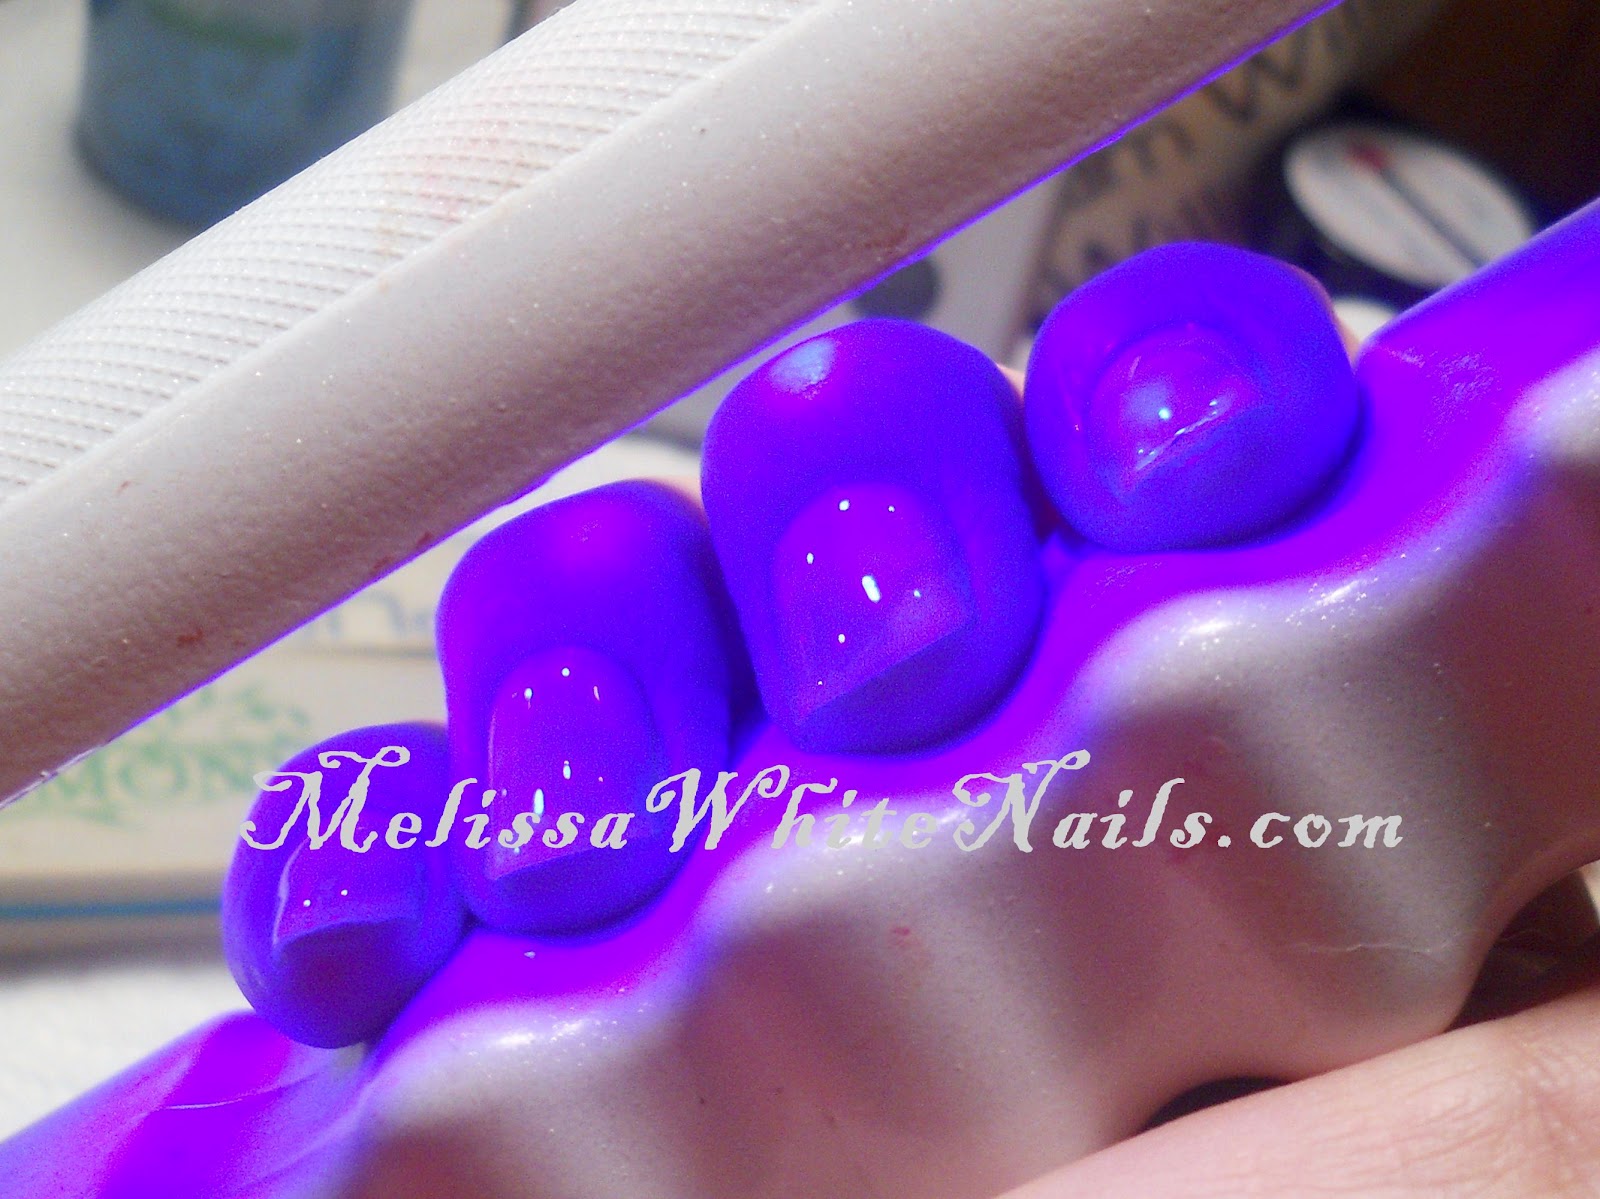
Now it's time to "bake" my basecoat for one minute. I keep a timer handy since over-exposure can be just as bad as under-exposure. The exposure time can vary depending on the type of light used. I use a small portable LED lamp who's exposure times are the same as a regular UV lamp. There are some more expensive LED lamps that can cut the exposure times down to 20 or 30 seconds but those are expensive and usually only worth the cost for professionals since they can easily make that money back by taking more clients with the time saved over the course of a day.

Next I added Structure Gel. This is not a required step! The purpose of this step is to add strength to weak nails to prevent breakage. If you already have strong healthy nails, there is no need for this part. This step is a little different than the others since it does not come in a polish like bottle with it's own brush. It is applied with a separate brush (artificial bristles only-picture shows a #14 size). Clean up any excess off the skin and cuticles and bake for two minutes.

Now, it's time to add some color. Again, you can skip this step if you just want a natural look or are using it as a basecoat for regular polishes. I decided to go ahead and use it just to demonstrate how it looks during application and you can add nail art on top of your Gelish mani to spice it up. I have a few clients who love nail art but are not allowed to wear them at work. You'll notice that the first coat of color is slightly streaky and not very opaque - this is normal! Here is my nails with the first coat of Gelish's "Go Girl". Make sure to clean any excess off skin and cuticles.

Bake two minutes (3 minutes if you're using a darker color). Apply a second coat, clean excess off skin and cuticles and repeat. At this point you are free to add additional coats of color and even nail art! The trick with using gel to make nail art is that you often have to do it in steps, baking in between. Since it doesn't dry the same way that regular polish does - you can often create designs by layering contrasting colors and put your design on by using a dotting tool to remove the second color. Here's an example of a gradient design that I did previously.
Now it's time to add our topcoat. Bake the top coat for two minutes and you're done!
Notice how your nails glow in the light. If you intend on using this as a basecoat - I suggest doing a second layer of top coat or do your top coat in a one thick layer.
And now you're done with your Gelish Mani!
The product is guaranteed to last 21 days after a professional application and I have checked out how long it lasts when I'm not brutalizing my nails - well beyond the 21 days. I let it go for four weeks and I had no chipping, fading or yellowing, but the "grow out" was just horrific! I usually have to do mine every other week because my nails do grow very quickly!
I hope you found today's post helpful and I'll see you in your blogs!