Pages

Showing posts with label holo glitter. Show all posts

Wednesday, November 14, 2012

World Diabetes Day Mani

Good afternoon! Today is World Diabetes Day today and I had no idea until I saw this post posted by Maria at Cult Nails on facebook this morning. I spent quite a bit of time last night cruising pinterest to get some ideas and inspiration for my next manicure but I was still not feeling it. After seeing that post this morning - I knew I HAD to do it!! I have type II diabetes and many of my family and friends have both type I and type II, so it seemed the perfect thing to do today! I loved my last mani so much, it seemed hard to find something else to follow that up with.

Now, let's get to the pictures! I'm going to start with my indoor shots.


Here's a few more outdoors. I made more of an effort to catch the holo effects here. One day I will master catching the effect. 


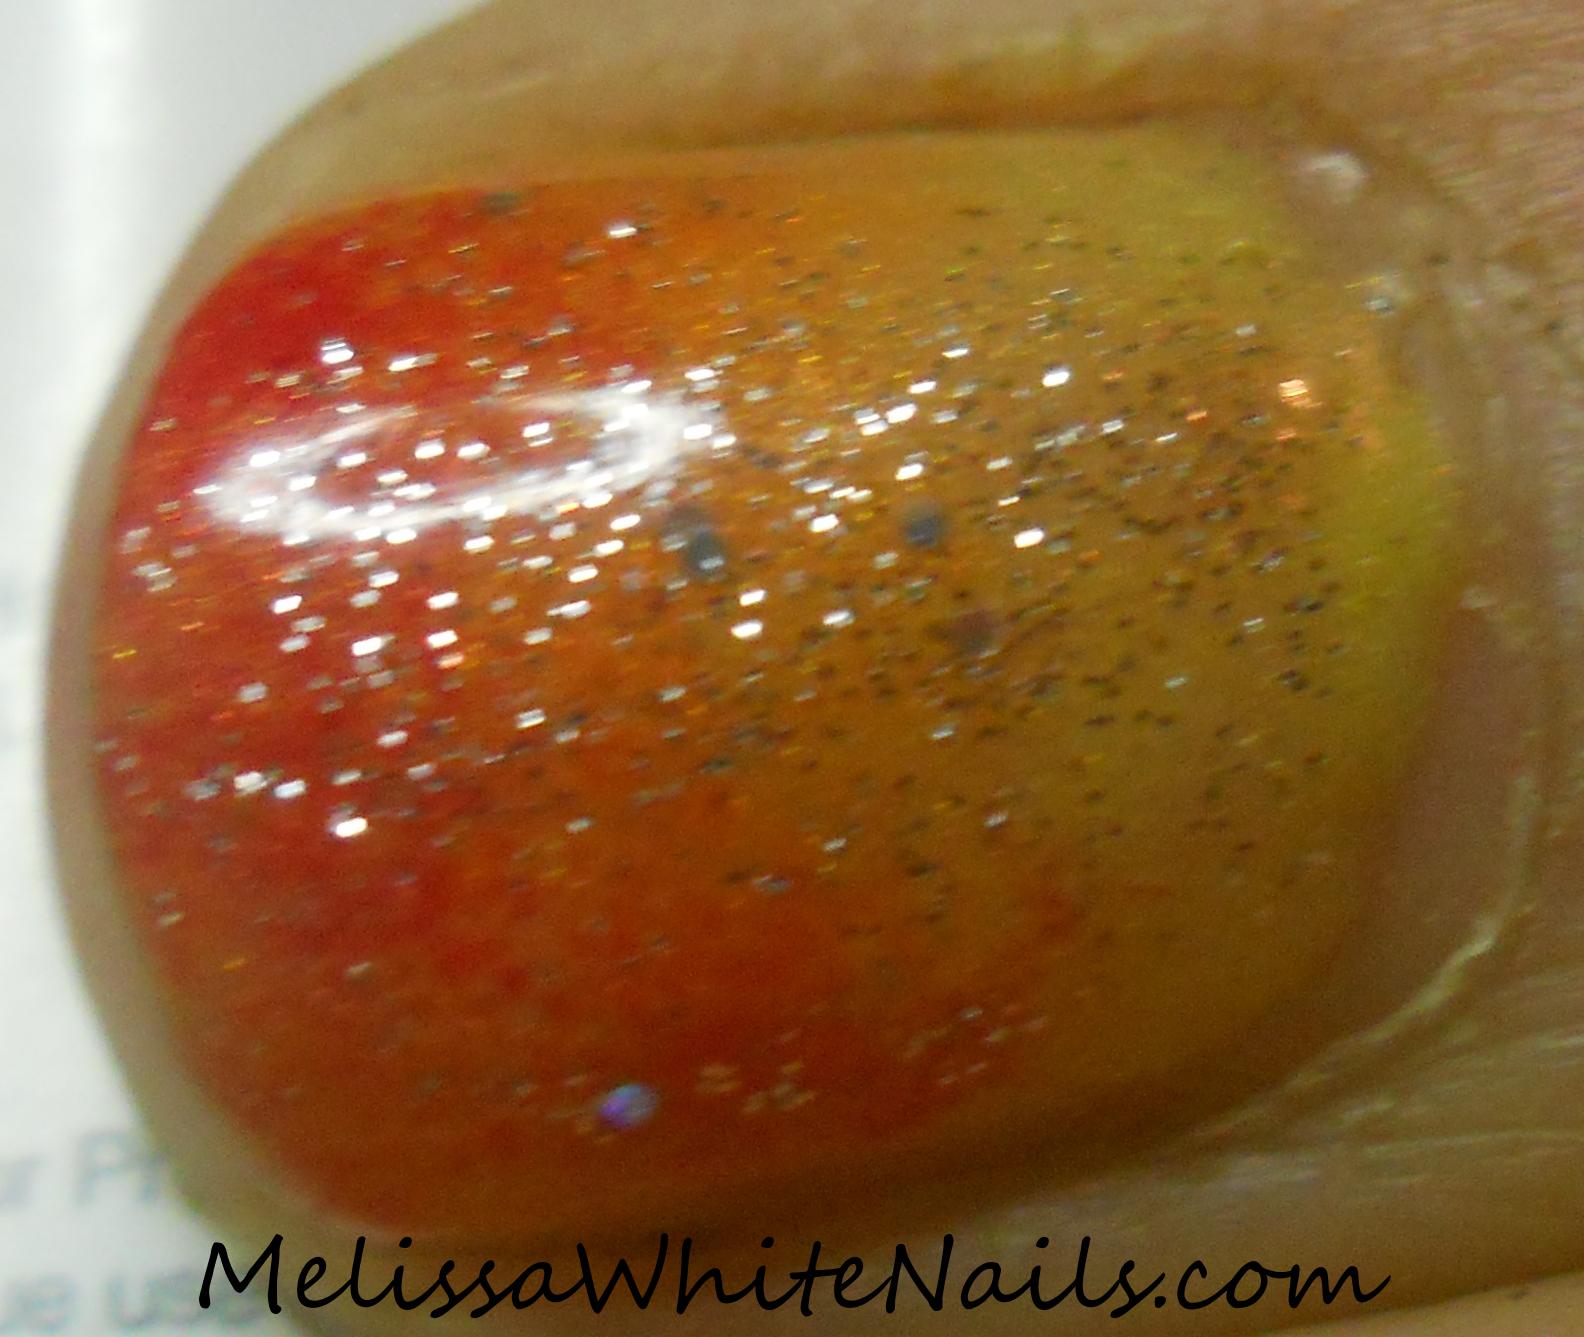
I think I did ok catching the effect on the macro shot but you be the judge as to which is your favorite. To do this one, I started with Seche Vite clear coat, then I added Orly's Snow Cone. Then I added a thin layer of Hits' Poseidon. Poseidon doesn't have a strong color - it builds up with multiple coats but I didn't want that many coats of polish here. Then I sponged on a gradient of Hits' Apolo. Finally I stamped on a flower and then used Hits' Hefesta to create the center dot of the flower.  Finally I finished this mani with a top coat of Seche vite. 

How has diabetes affected your life and your family??  


Monday, November 5, 2012

Falling back!

I've finally gotten a chance to really play with my Hits collection! I've struggled with making a choice...I love them all so much, I can barely choose which ones to wear!! In celebration of "Falling Back" and the end of Daylight's Savings Time here in the US, I went with a fall color scheme and quickly stamped a few leaves over this lovely gradient.

I really wanted to see how the holo looked when you stacked colors over each other. I must say, I'm mucho mucho happy with this. I'm just going to get right to the pictures! I didn't finish until after dark, so look for newer pictures later tomorrow showing this in full sun! I managed to catch some of the holo by photographing this outside in the dark with flash, and I like the other regular pictures as well - the lighting is much better and more consistent.


I love love love gradients, and I love love these polishes. Well worth the wait to get my hands on these!! Now, to get the next collection on my wish list......the newest Cult Nails collection, Behind Closed doors!

That last shot is really my favorite!! Which do you think best shows off this mani? Flash in the dark, regular lighting or full sunlight?


UPDATE: Well after two days - we finally had a day with no haze and I got a pic of full sun. You can clearly see the wear my poor nails have taken in these last three days, and I apologize for that. Sadly, I still was not able to clearly capture holo effect here, so I'm a bit disappointed, but that could also be because I had to wait so long to take the pictures.


Sunday, May 20, 2012

More Experiments with Gelish

Happy Sunday! I hope you all enjoyed your weekend, I am on the road to recovery from my recent illness. It was not serious but it was enough to keep me from my blog and nail art for awhile.

While I was away, I did change my gelish and for those of you that also follow my twitter, I discussed trying to create a gelish sandwich and a sunset gradient. My sunset gradient is one of my most popular nail art designs, especially in the gel. However, during the removal of my old gelish manicure, I accidently broke THREE nails down to the nail bed. It was pretty devastating for me because they are so short, it looks like I bite my nails or something like that. But I can't stand uneven nail lengths, so I cringed and cut and filed away. I reapplied my new gelish mani doing it in the usual way on my left hand and trying to incorporate the "jelly sandwich" technique into this gradient.

I have very mixed feelings about how this experiment came out. You be the judge.


It came out ok but unlike the previous attempt with the sheer color - the glitter doesn't really pop through...it's so much more subtle. This is a disappointment for me, because the boldness of the colors with a sunset gradient requires less subtlety and that super visible depth that I had with my regular Gelly Sandwich.


There's a macro shot of this one. Please pardon the horrible length.  You can see the glitter is there if you go poke someone's eye out or stare at it for awhile. Let me post the pix of the sunset gradient the way I normally do it with the shimmery glitter coat on top of the gradient.


I think the regular sunset gradient came out much better. Not just because of the shimmery glitter being on top but also because I did a better job sponging it on with this hand too. This was an all around experiment on a number of levels. Normally, when doing a gradient using gelish, I do one coat with more definite 'lines' and then sponge on the next color to blur the line. I had used this technique because each color requires two coats and when I started working this out with the Gelish I was not as good with gradients in general or working with the gel itself as I have become over the last few months. 

The change in my gradient technique is a definite WIN, but the Sunset Gelly Sandwich is a fail in my book. What do you think?? 


Friday, April 13, 2012

Fish Egg Friday!!

I'm baaaaack!! I decided to go ahead and double post today and bring you "Fish Egg Friday"! This was a last minute blog community event and I'm very glad I decided to do this. I've never done a caviar manicure and I'm certainly glad I gave it a shot!! Look for more of these style nail art manicures in the future.

This style nail art first appeared on the runway last year at Mercedes Benz New York Fashion Week and you can read about  Dashing Diva Pro's avant guarde look here.  This is the specific look I attempted to replicate today! I apparently need to be clear about that since there's a DIY kit available by Ciate, a brand from the UK and it very much differs from the original look. Now on to the pictures!!


These were all taken in bright sunlight to highlight the glitter and to demonstrate what a difference it makes to the overall look. Personally, I feel that without the glitter, the look risks looking like nothing more than a smudged up black nail from any distance. Let's be honest here, our nails don't get noticed up close unless we're in the habit of poking people in the eye.


Here in the second shot, you can see how the glitter as become part of the texture.  I used Orly's "Shine On Like a Diamond" as a top coat here both to get the glitter effect  and to secure the beads to my nail firmly. I have previously discovered from working with micro-beads that using a fast dry top coat can sometimes effect the color of the beads by almost leeching the color from the beads and making it bleed into your design. If you want to skip my rant, just jump to the end to get a list of all the other gals participating today!

~Rant Time~

I am going to take a moment to talk about why I decided to participate in "Fish Egg Friday". I am a professional nail technician, I am licensed by my state and this "Ciate caviar manicure" product is not marketed to me as a professional. I also don't do product reviews except in the most incidental manner (I used this, I don't use that, etc.)  This product is not even available in my area except online. The recent unprofessional conduct of their PR dept toward the beauty bloggers as a whole embarrasses me. Outside the fact that I am a former DIY-er who made the transition to professional, One of the things I enjoy about my profession is the industry as a whole and the professional code of conduct that doesn't include that sort of behavior. We don't put each other down publicly or behave negatively towards each other. This industry attracts certain types of people and those that flourish are caring, supportive, positive bundles of energy.

This is a unique industry. It's one of the few industries where duplication and imitation is what helps us grow, evolve and push us in new directions while still offering quality, iconic products/services. Offering consistent quality and accessibility is what gives your "branded technique" staying power not legal action against those who chose to not promote your product to achieve a look you didn't create. One has only to look into the history of the "French Manicure" to see an example of how it really works. Exclusivity and trademarking is not what has made this field the biggest growth industry at a time of world-wide recession. It has been it's accessibility of quality to the average person at every level which has made us all flourish.

I expect the folks at Ciate to follow in the footsteps of Max Factor and Orly and their "french manicure" and re-orient their PR staff appropriately. This type of behavior may work in other industries, but it doesn't fly in this one. Here, the rule of the day is either adjust the quality or adjust it's accessibility (price).


Thanks for hanging around to read my rant! Here's a list of the other bloggers participating in today's "Fish Egg Friday" be sure to check out their GREAT manicures cuz this is a amazing line-up!! The list keeps getting longer so be sure to check back and see all these new great caviar manis! You can also keep up with everyone else on twitter who's jumped in using #fisheggfriday!


Friday, March 23, 2012

Trying new things

Happy Friday everyone!! I hope your weekend is off to a great start! I know mine certainly is. I'm very excited to show you today's nail art! I really had trouble sleeping the other night because I was just that excited about how these came out.

I had been meaning to try my hand incorporating acrylic paint in my nail art and I finally got the paint to give it a shot.  I'm still very much in the spring vibe so I started with flowers!


I'm so very happy with how this ultimately turned out. In my mind, I still need to work on forming the flower petals and leaves, but even with the not quite perfection, I'm totally digging this! I'm also loving it that my camera managed to catch a bit of the holo for the accent bits. It's a very strong non-linear holo and that the picture came out very much how it did in person brings me much joy.


This one is in honor of the opening of "Hunger Games" tonight. I did a gradient using my hunger games polish and white and orange acrylic paints to do the flower. The flower is supposed to represent the flowers that Katniss covers her fellow tribute and ally in during the story. I love this one as well and used a gold holo to accent the orange. The holo is not as strong in person as it is for the one above - but I didn't want to obscure anything by usin such a strong holo. 

I hope you enjoyed today's trials and any feedback you have about these designs would be awesome!! Suggestions are always great too ;) 


Thursday, March 22, 2012

More Experimental Nail Art

Happy Friday Eve to you!!  Today I have some more experimental nail art to show you.  This time I'll be showing you two Gelish nail arts. I usually do just the Gelish as my base color, but these are completely done using Gelish polishes.


You can see the larger pieces of holo glitter in this photo and some of the pink holo shimmer as well. It's super sparkly that's for sure!!


This second one is a super glittery sunset with a beaded palm tree done in black. This is the same glitter I used in the one above but it doesn't quite catch the "holo" like the one above did. I was dying to do something beaded with the gel and here it the first one! 

That's it for today. I'll be back tomorrow to show you some of my first attempts at using acrylic paints with nail polish to make flowers. I twitted some of them yesterday if you care to scroll back through my tweets to get a sneak peek!