I am doing another #fisheggfriday post today. I thought I'd do something just a little bit different than my normal post. Reading all the posts that have been done in the past few weeks, the single biggest complaint is how impractical it is. Beads flying off everywhere and it catching on everything. Which got me to thinking, what can I do to make the beads stick really stick?? I had a few ideas and decided I'd try them out and see how it all holds up.
Here is my nails just done with Sally Hansen's Xtreme Wear "Emerald City", on my right hand.

The same on my left. You'll notice I clearly do not take pictures very well using my right hand.

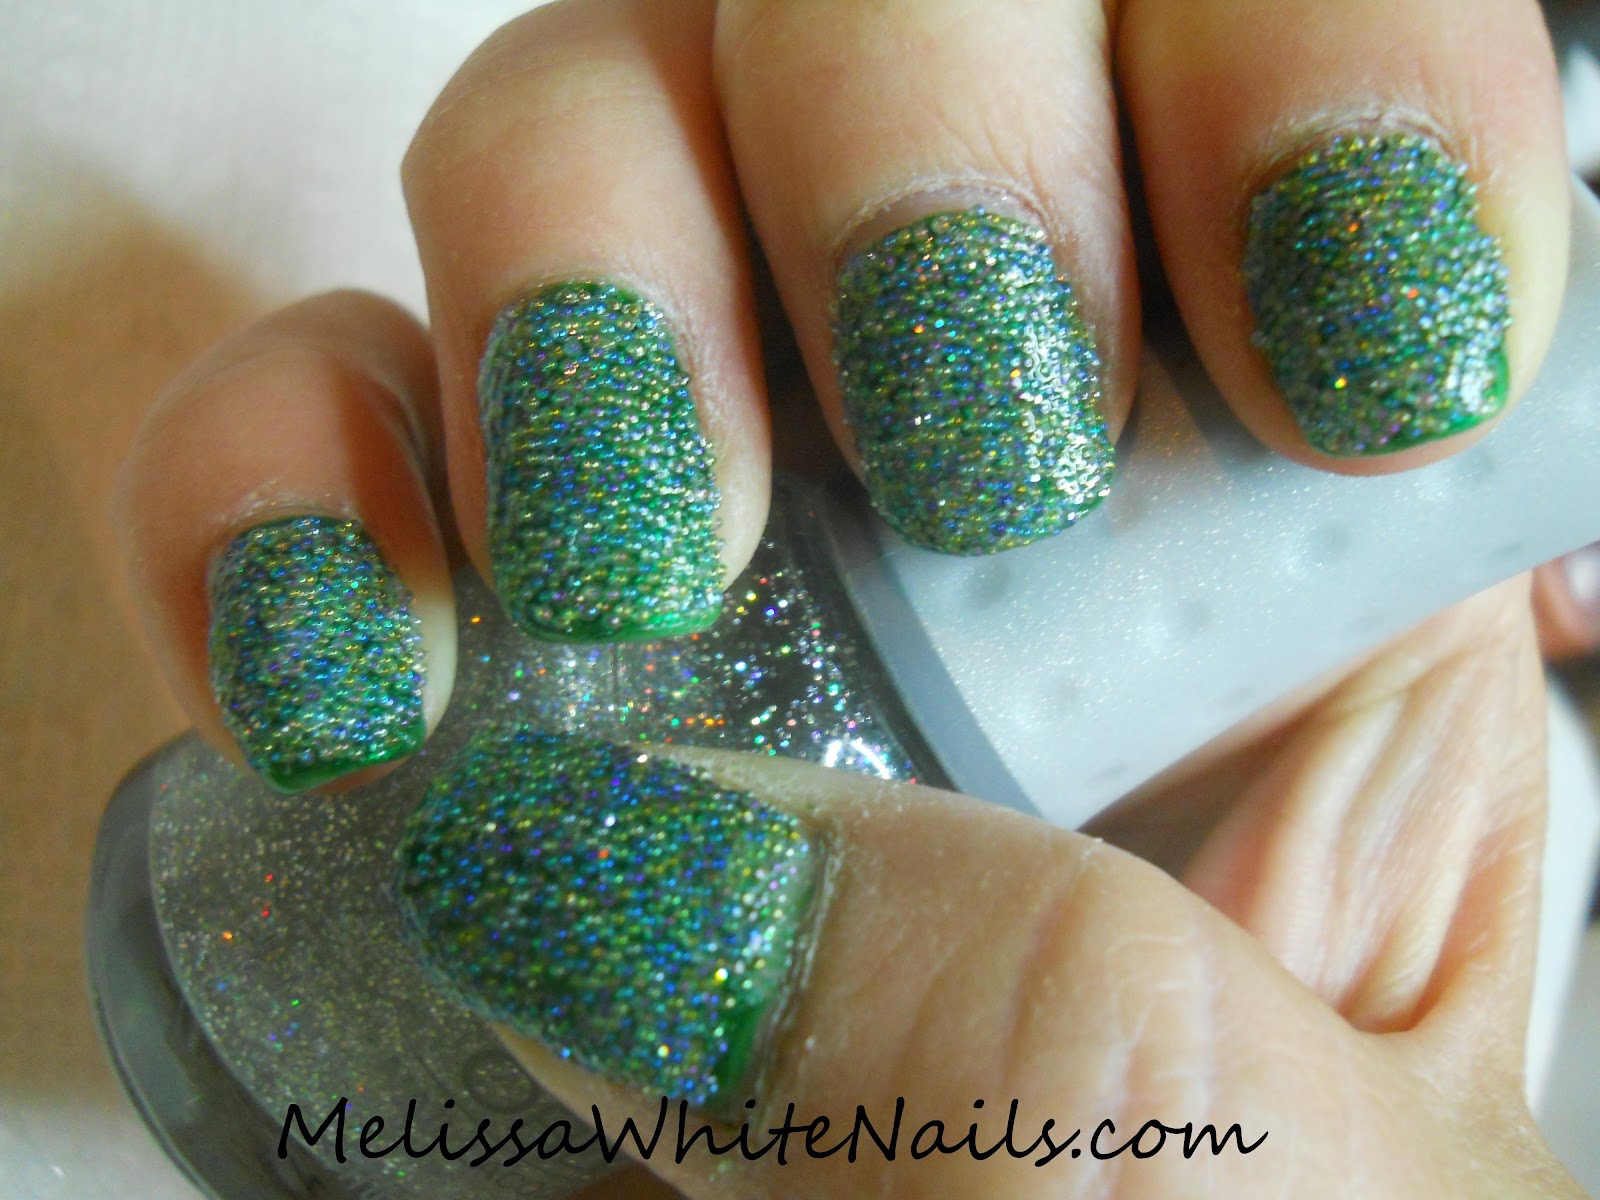
Here's my left hand after applying microbeads. I did this a little different than most of the DIY steps you see in the blogs. I let the entire mani dry and then, one nail at a time, used one thick coat of Seche Vite and sprinkled the microbeads, while it was still wet. I then pressed the beads down and trimmed as needed. I repeated the process for each finger. Once all the nails on that hand were covered in beads, I dabbed on a goat of glitter by laying the brush parallel to my nail as I dabbed rather than at a perpendicular angle when I'm brushing on polish. I let that fully dry. Finally, I lightly brushed on a coat of old thick Seche Vite to really secure the beads. Here's my right hand.

My left hand, I apologize for the poor picture quality.

You can really see on the picture of my left hand that the final coat of thick Seche Vite took away some of the texture of the beads. This was not much of a surprise. I noticed some times ago that old thick fast dry top coats can be great when applied to nail art that has texture and you would rather it not. You simply use your fresh fast dry top coat to seal in the design and when it is dry - apply the old top coat to give your nails a slick smooth appearance and texture. Sammasaurus also uses this technique. I was not unhappy with the look of this though.
By the end of the day, I hated it. The beads really did catch on everything and it just felt awkward and wrong. I seriously regretted doing this on all ten of my fingers. The blue and green colors that the clear microbeads brought out of the polish were awesome, I managed to keep the beads on my fingers and not all over the place but it was still completely unwearable like this. Here it is again, three days later.

Virtually no difference in how it looked but still not nearly as wearable as I'd hoped. I think this is a doable as an everyday look if one restricts it to just an accent nail on the ring finger, which is our least used and weakest finger.. It truly was annoying because it was on ALL my fingers.
I want to note here that I did remove it and I did NOT use acetone or any nail polish remover to remove this. I used my Gelish remover to get the beads off my fingers. I simply soaked a cotton ball with Gelish remover, laid it on my nail and wrapped the whole finger in foil. I let it soak for a full five minutes and the beads and most of the polish simply wiped off. It's also great for removing glitters the same way. I often use my Gelish remover to remove old acrylic enhancements for clients as well the Gelish polish it's designed to remove. I chose to use this product instead of Acetone because it's not nearly as rough on my nails and cuticles as Acetone is. The product is too expensive to be used simply as a polish remover - but it certainly save time and work when removing more difficult things like a nail full of microbeads that are swimming in that much topcoat or glitters and jelly sandwiches. The remover is available on Sally Beauty Supply's website. Larger sizes are available through independent distributors of Nail .Harmony products.
I hope you enjoyed reading about my experiment today and Thank You for reading! Don't forget you can follow "Fish Egg Friday" on twitter with the hashtag #fisheggfriday.
I had the same experience with the micro beads. Imagine I only did my ringfingers. But the best thing of all; We did it! haha
ReplyDeleteLove your Caviar mani.
Thank YOU!!
DeleteAwesome mani!!
ReplyDeleteThank You!!
DeleteThis kind of reminds me of Floam, the nail polish that's been so popular lately! Lovely take on the fish egg mani!
ReplyDelete