One of the perks of using a soak off system is that you are not required to use a color. You are still free to just use a base coat and then a top coat. In fact, many professionals who do long photoshoots with frequent polish changes often use the soak off gel systems instead of a regular polish basecoat. If you're a person who loves to change your mani often or swatch several polishes at a time - this might be a great option for you! I do this with my own nails since I am my own nail art hand model and have been known to do as many as 10 different nail arts in a day. That much acetone exposure can do some serious damage to your nails (just check out my cuticles in this week's posts and you'll see!) and I find it does a great job protecting my nails as well as making for easy removal!
For today's post, I decided to add a color just to show off the Gelish in it's normal salon application. Gelish also has "Structure Gel" whose purpose is to add strength to weaker nails and prevent breakage which can cause the Gel polish to chip. Far as I know, breakage and incorrect application are the only things that cause gel polishes to chip or lift.


Next I added Structure Gel. This is not a required step! The purpose of this step is to add strength to weak nails to prevent breakage. If you already have strong healthy nails, there is no need for this part. This step is a little different than the others since it does not come in a polish like bottle with it's own brush. It is applied with a separate brush (artificial bristles only-picture shows a #14 size). Clean up any excess off the skin and cuticles and bake for two minutes.


Bake two minutes (3 minutes if you're using a darker color). Apply a second coat, clean excess off skin and cuticles and repeat. At this point you are free to add additional coats of color and even nail art! The trick with using gel to make nail art is that you often have to do it in steps, baking in between. Since it doesn't dry the same way that regular polish does - you can often create designs by layering contrasting colors and put your design on by using a dotting tool to remove the second color. Here's an example of a gradient design that I did previously.

Now it's time to add our topcoat. Bake the top coat for two minutes and you're done!
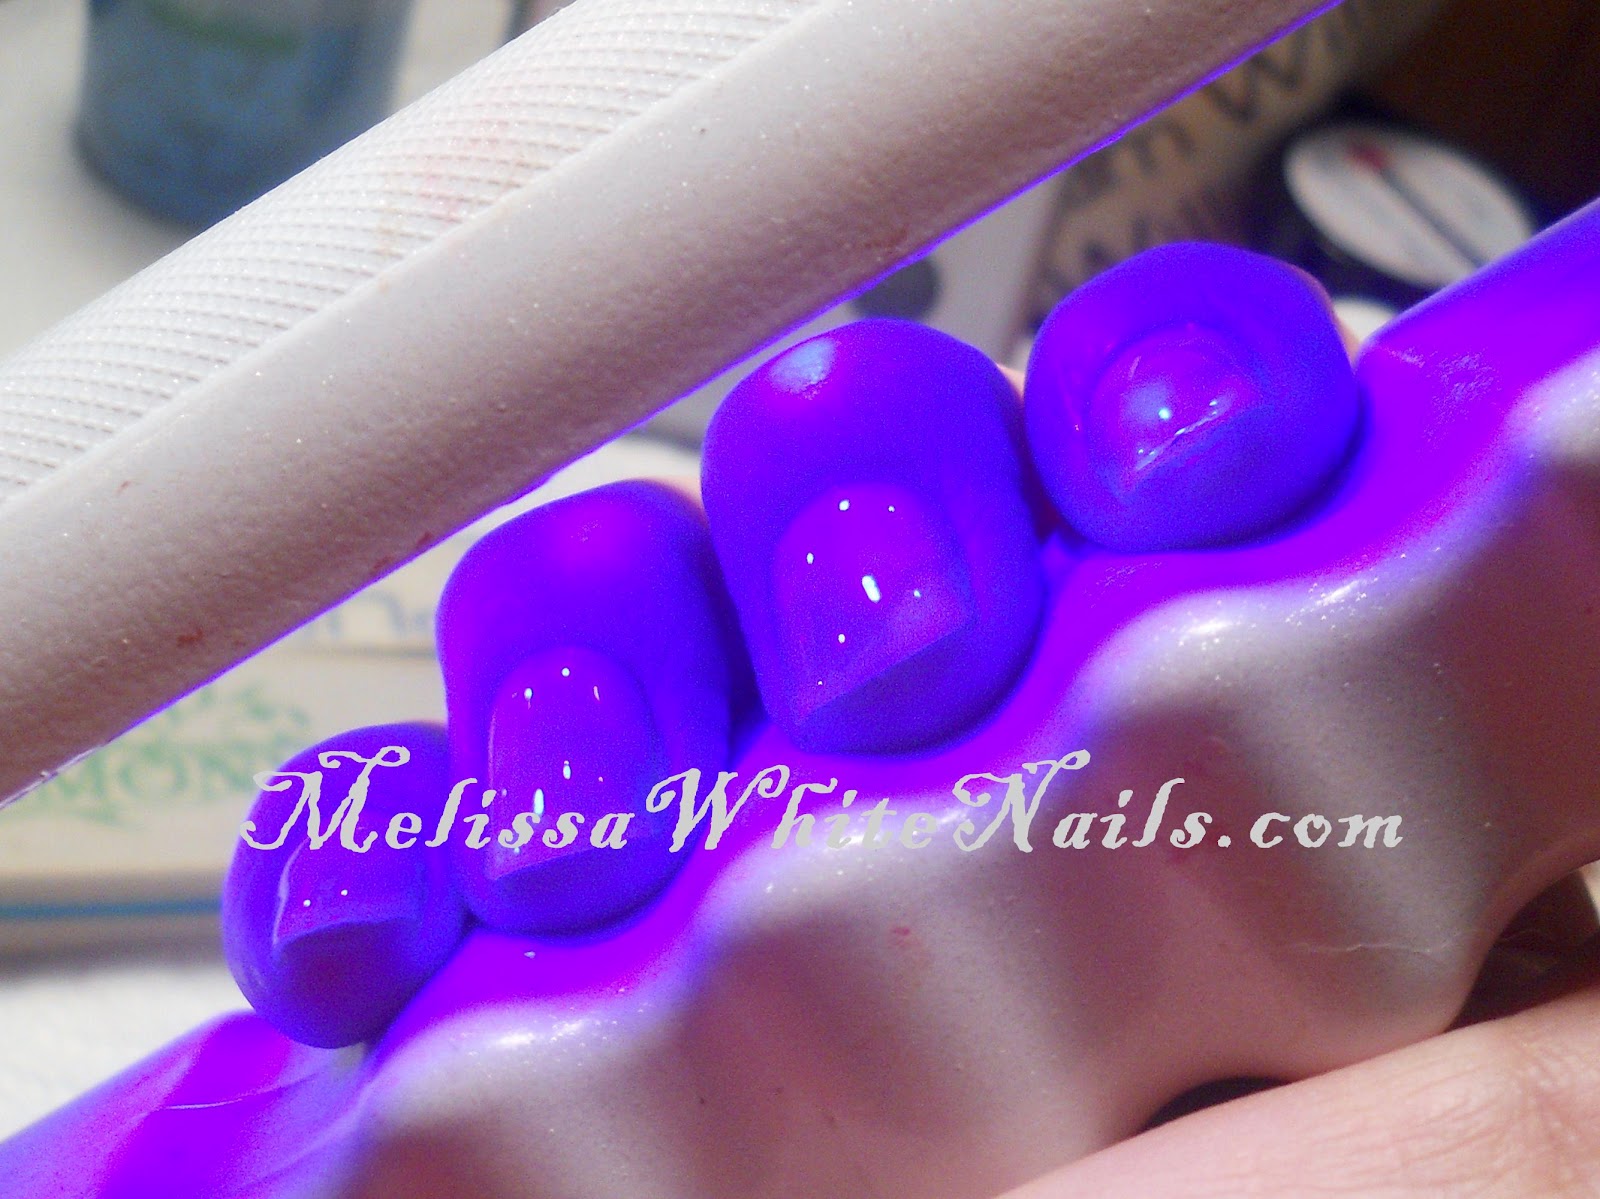
Notice how your nails glow in the light. If you intend on using this as a basecoat - I suggest doing a second layer of top coat or do your top coat in a one thick layer. 
And now you're done with your Gelish Mani!

The product is guaranteed to last 21 days after a professional application and I have checked out how long it lasts when I'm not brutalizing my nails - well beyond the 21 days. I let it go for four weeks and I had no chipping, fading or yellowing, but the "grow out" was just horrific! I usually have to do mine every other week because my nails do grow very quickly!
I hope you found today's post helpful and I'll see you in your blogs!
What a great tutorial! When your nails grow out do you fill the growth with gelish or do you cut your nails back?
ReplyDeleteI usually just fill until i reach a point that my nails are too long - then it's remove and cut back. I have been keeping them shorter lately than I have in the past, so fewer fills and more cutting back.
DeleteWhich Gelish colour is this pink?? It's great!
ReplyDeleteThis is "Go Girl". It's an awesome base pink!
DeleteMelissa,You mentioned that i can use regular nail polish with gelish, how does it work? can i apply gelish base+regular polish+ gelish top coat? can you tell little bit more about it? And thanks for nominating my blog with your heart out button!
ReplyDeleteElena,
tip-top-nails.blogspot.com
yes, you can. In this group of posts, I always put the regular polish OVER the gel. It's most popular with clients who want a fun design for a one-time even but be able to go back to their work-safe mani after the event without having to schedule a Gel Polish change (expensive). Over the last few weeks, I have been experimenting using the base and top coat over the regular polish. So far, I've had no problems doing that on loose plastic nails. I have NOT tried it on my fingers yet, and my concern is that there will be some heat generated and it may damage the nail at worst or be painful. I have tried other UV products unsuccessfully before and it was painful and not successful at all. I will be trying that soon using the Gelish on my own fingers (THIS week, in fact) and I will let you know how that works.
DeleteI did the "gelish sandwiching" (gelish base and top coat with regular polish as color), and it works well. My mani lasted about a week, but I was new to gelish and my gelish color also lasted only about a week, so it's possible it can last even longer if well done. The key is that your regular polish has to be COMPLETELY DRY before you put the top it off. (I waited about 1 hour, you should be able to easily touch it without smudging or deforming it). If the polish is not 100% dry, the color will wrinkle after you apply top it off (I had that happen once...)
DeleteHi Melissa, I was wondering if you could use regular nail paint over gel nails for nail art? Similar to how its used on Acrylics. For instance let my base color cure and then go in with the nail paint. Would that work with gel nails? Or should I just try to create designs with gel polish using a very thin brush?
ReplyDeleteYou can do regular polish OVER the gel manicure. I often do that for clients who cannot rock the nail art on a day to day Basis because of the job but do want to rock the funky art for the weekend, a special event, etc. The Gel mani is sturdy enough that you can remove the polish art with acetone and the gel mani remains intact. In fact, quite a bit of the art you see here is polish over gel.
DeleteHi there!
ReplyDeleteI have tried several kits at this point and tried each of them more than once with the same result as far as them being difficult and time consuming to remove! Longest it's taken me is an hour and a half between acetone and filing to get off the SensatioNail polish..
I am now looking into more expensive kits hoping it's worth the added cost and so far gelish seems to be a good step in the right direction, but how do YOU go about removing the polish several times a day like that? I get bored easily, yet love the sturdiness, and I don't want to have to wait weeks before I can change my gel color easily, nor do I want to have my friends wait forever while I brutalize their nails the times I do them... haha. Help on the removal please!
The simple answer is that I don't. I noted in the blog post and in the comments that you can change up your mani by applying regular polish over it. I personally never change my Gelish more than every two weeks and even then, it's more because of nail growth than failure of the product. If you want to change your color often and want your mani to be more durable, I suggest you not apply polish after soaking your hands in water, 'seal' the free edge by gently brushing the free edge of the nail with the brush lightly loaded with polish. A good base coat and top coat also help. You can use a gel base and top coat (clear) to protect your nails and act as a 'base coat' under regular polish. This is used by many professionals during photo shoots where frequent polish changes are required. It's been my experience that using Gel as a base coat also lengthens the life of an application of regular polish.
DeleteAs for removal of Gelish - simply rough the top coat using a 180 grit nail file being careful to avoid filing any new nail growth (which will damage the nail). Use the remover indicated for the product you purchased. For instance, many of these removers are specifically formulated to break the chemical bonds of that specific product. After 10 minutes, the Gelish products usually pulls away from the natural nail on it's own and you should never have to use anything other than an orange stick to 'scrap' off anything still on the nail. When the product is removed, buff the nail using a 220 grit file. This is just the process for Gelish, and I'm not familiar with the products sold to the general public at drugs stores and such.
If you're having this much trouble using the indicated removal process for a product then I suggest you go to the salon to have it removed. One of the downfalls of having products designed for professionals available to the general public is that these kits assume you have a certain skill set and obviously not everyone does.
I also discourage you from doing your friends nails. Our nails are one of our initial defenses against infection and disease. Damage to the nail or poor sanitation can lead to serious consequences. There's a reason many states in the US require a license before performing services on others and it's not just to get $$ out of you. It's to protect your bottom line (you take on a certain liability when you perform a service like this for someone-and yes, you can get sued! Don't think a 'friend' won't if they were injured or more) and to protect anyone you provide services for. Please look into schools in your area, many nail programs have flexible hours and are priced accordingly.
I use the structure gel as my foundation alone and it works just as well
DeleteI use the structure gel as my foundation alone and it works just as well
DeleteHello Melissa. Great information!
ReplyDeleteI do have a question that I don't believe has been asked yet.
I have acrylic nails and have Gelish polish on top. My mani's usually will last 3-4 weeks, depending on grow out. I absolutely love that! Talk about cost effective!
So, here is my question: I have noticed that my nails will lose their luster. This could be within a few days or a few weeks, depending on how hard I am on them. Can I use a regular, fast drying top coat? I have tried, and it will peel within a couple of days.
Your advise is greatly appreciated!
I have found using regular nail buffing can 'renew' the shine. I had also noticed that the top coat doesn't last as long if the bottle starts to get old or if it's a new bottle - if I've been sticking my hands in lots of acetone and harsh chemicals. If it gets too bad though, I generally add another top coat - esp if I've been working with lots of acetone.
DeleteA great solution to all your nail paint problems is here. One of the salon gel nail polish brands, Sally Hansen is armed with great shades to match your every mood and long lasting nail paint to protect your look
ReplyDeleteHi Melissa. I love your blog . I am confused with gel nail polish & UV soak gel nail paint. I have tried soak gel polish & I think its better one & I can easily change my nail art designs & polish. Few months back just order gel nail polish kit from online & its best for nail arts & designs.
ReplyDelete