I managed to make it through my daytime activities until the evening time, which is my "nail work" time. I gave it a shot, and YES! The claim that it works with any UV Gel system is absolutely true! I created my first nail decal. w00t w00t It was my first attempt and I deliberately created a design that was big just so I could see if it worked before I spent a huge amount of time doing tiny detailed work. No, I didn't take a picture. I did a few that were more "to scale" and they came out okay. There's definitely a size limit on how big you can get with these things so I struggled for a few moments trying to come up with something small enough. I went back to recent art and did a heart...layering a smaller heart in a different color.
It came out fine, great even, but I couldn't imagine what the heck am I going to do with it? It's not like I can't whip out half a dozen hearts freehand in a timely way - thus defeating the purpose of using my own custom decals. My recently purchased Micro-bead set came to mind. You'll see from the pictures below, I created the design on a stiff piece of clear plastic. In fact, the first one I did on a piece of backing from a set of decals I'd already used but still had the piece of clear plastic. Recycle!
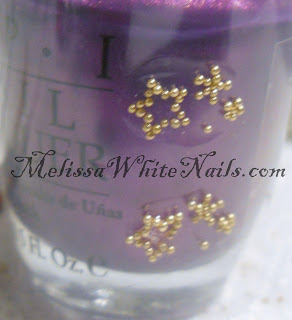
In order to maintain the right scale, I needed to use a pre-made image to work from. I decided to use my stamping plates for that. I just stamped an image on the back of an unused envelope and taped my clear plastic bit onto that. I then grabbed a toothpick, moistened the point and started picking up tiny beads. At this point I'm using a magnifying glass just so I can *see* each individual bead and place it over the design. I got into my groove and finished the design. I brushed a gel top coat onto the beads with a super thin striping brush tip. I wanted to strengthen the bond to the base of the decal but not drown the beads in gel.
These pictures are not anywhere near professional looking - but I am so excited how well this came out that I went ahead and took some even though I haven't figured out the presentation part of it yet. I just *had* to share!
 |
| With Backing taped to a bottle of OPI |
 |
| With a Stamping Plate and a painted piece of paper |
I think this is a for sure winner right here. What do you think? Would you buy something like this to apply yourself?
No comments:
Post a Comment