While I was away, I did change my gelish and for those of you that also follow my twitter, I discussed trying to create a gelish sandwich and a sunset gradient. My sunset gradient is one of my most popular nail art designs, especially in the gel. However, during the removal of my old gelish manicure, I accidently broke THREE nails down to the nail bed. It was pretty devastating for me because they are so short, it looks like I bite my nails or something like that. But I can't stand uneven nail lengths, so I cringed and cut and filed away. I reapplied my new gelish mani doing it in the usual way on my left hand and trying to incorporate the "jelly sandwich" technique into this gradient.
I have very mixed feelings about how this experiment came out. You be the judge.

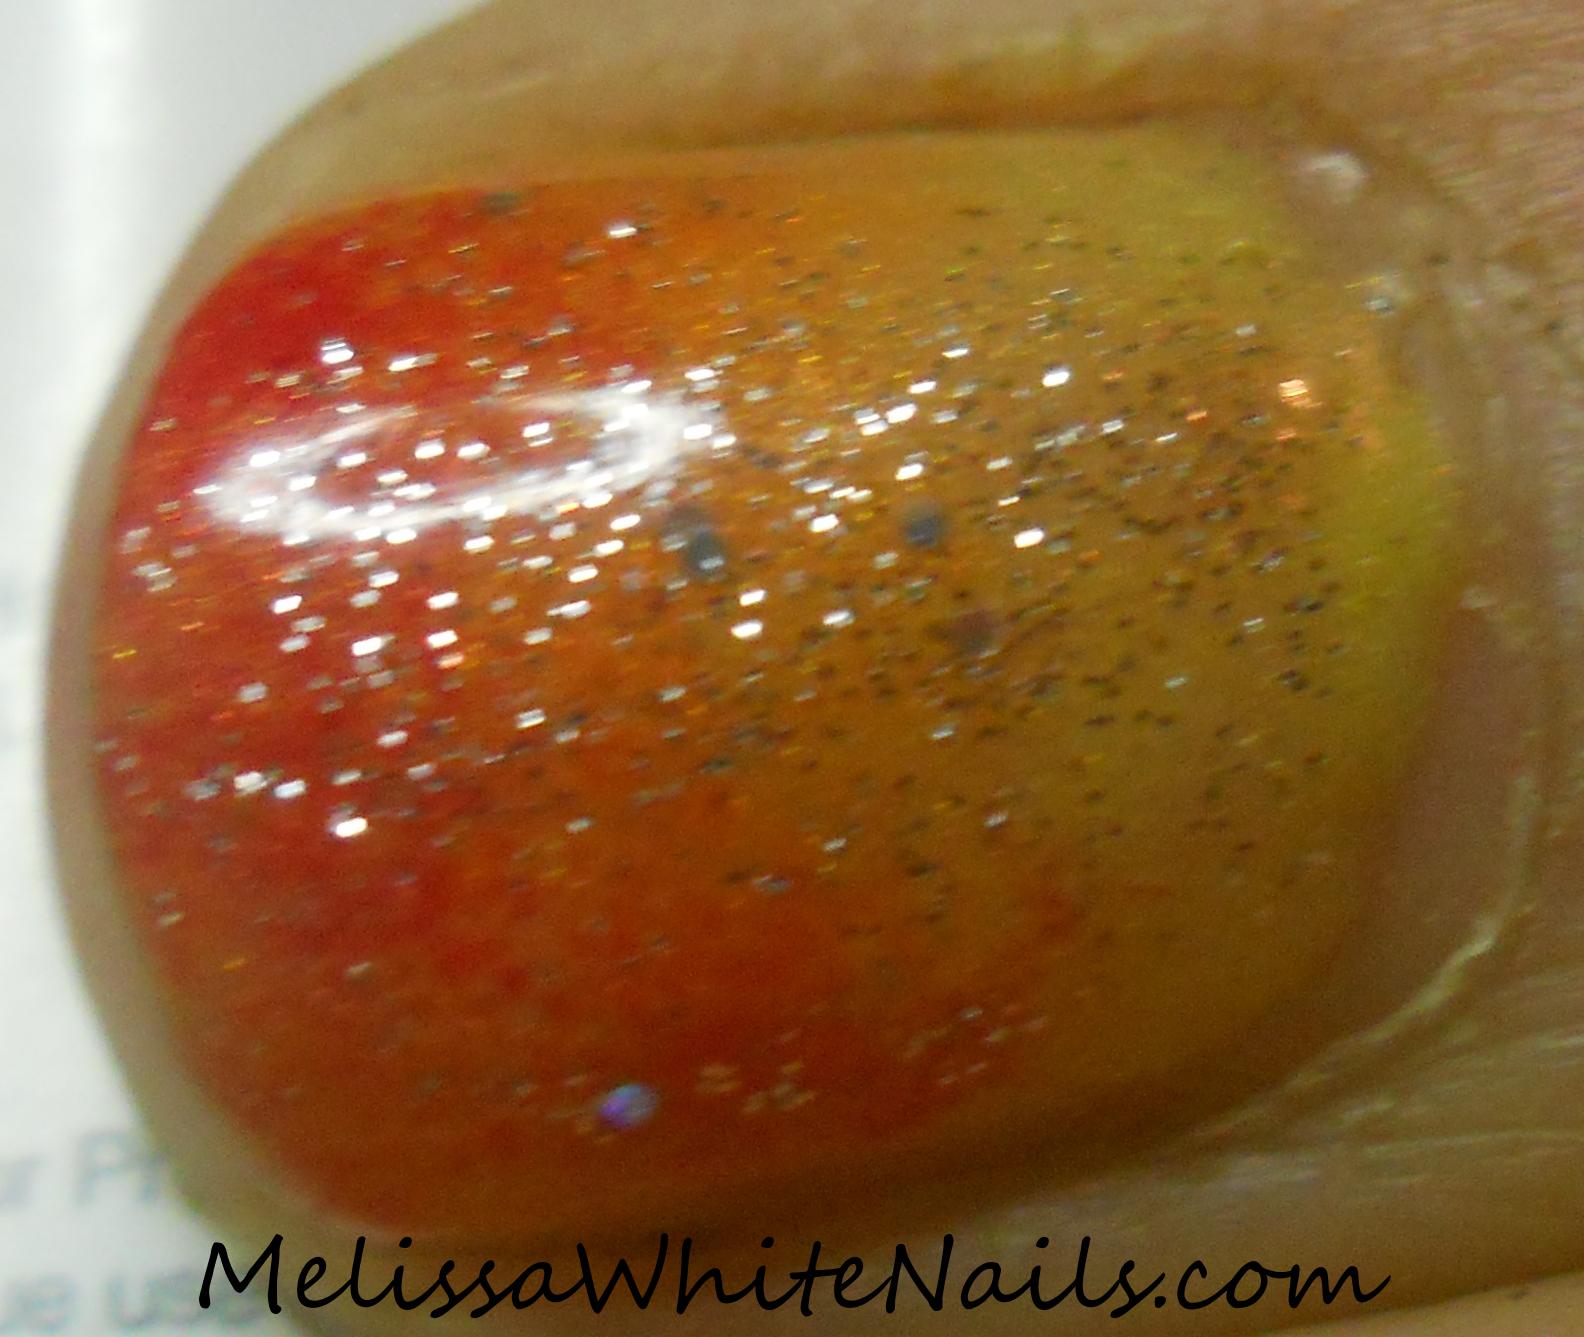
It came out ok but unlike the previous attempt with the sheer color - the glitter doesn't really pop through...it's so much more subtle. This is a disappointment for me, because the boldness of the colors with a sunset gradient requires less subtlety and that super visible depth that I had with my regular Gelly Sandwich.

There's a macro shot of this one. Please pardon the horrible length. You can see the glitter is there if you go poke someone's eye out or stare at it for awhile. Let me post the pix of the sunset gradient the way I normally do it with the shimmery glitter coat on top of the gradient.

I think the regular sunset gradient came out much better. Not just because of the shimmery glitter being on top but also because I did a better job sponging it on with this hand too. This was an all around experiment on a number of levels. Normally, when doing a gradient using gelish, I do one coat with more definite 'lines' and then sponge on the next color to blur the line. I had used this technique because each color requires two coats and when I started working this out with the Gelish I was not as good with gradients in general or working with the gel itself as I have become over the last few months.
The change in my gradient technique is a definite WIN, but the Sunset Gelly Sandwich is a fail in my book. What do you think??
I once watched Michelle Phan's video about this gel nail polish, and well I think it looks good on you. The gradient effect is beautiful, Melissa! :D
ReplyDeleteTY!! I really love gradients to begin with, and being able to do them in gel and make it last for weeks is even better!! I love this gel polish.
DeleteI loooove gradient nails, they look so unique! I really have to try this technique soon :) x
ReplyDeleteIt's definitely been worth the time I put into working on my technique. The gradient looks are the one I get the most comments on.
DeleteHow do you do the gradiesnt with the gel?
ReplyDeleteI use the same technique as with regular polish - i just'bake' each color before applying the next one. I usually have to use two coats because the darker colors are not opaque in one coat. This is a great tutorial on the technique i use. http://www.thenailasaurus.com/2012/04/gradient-nails-picture-tutorial.html
DeleteGelish is generally preferred by my clients at GelMe. However shellac is being asked for more and more.
ReplyDeleteI chose to go with Gelish because I just genuinely love the product and all my clients are sold on it as well. The nearest CND distributor is almost 100 miles away and generally only available by mail order. That's a long way to travel for education on new products and to browse for new colors. I'm near the keys and given the # of high end spas - it's a serious oversight on CND's part.
Delete